
Amplitude - Data Sync
This guide is for syncing events and user properties to Aampe
Estimated setup time30 minutes
Realtime Sync
Aampe can receive user events and user properties in real-time via the following methods
- Aampe official destination
- Custom Webhook
Official Aampe destination in Amplitude
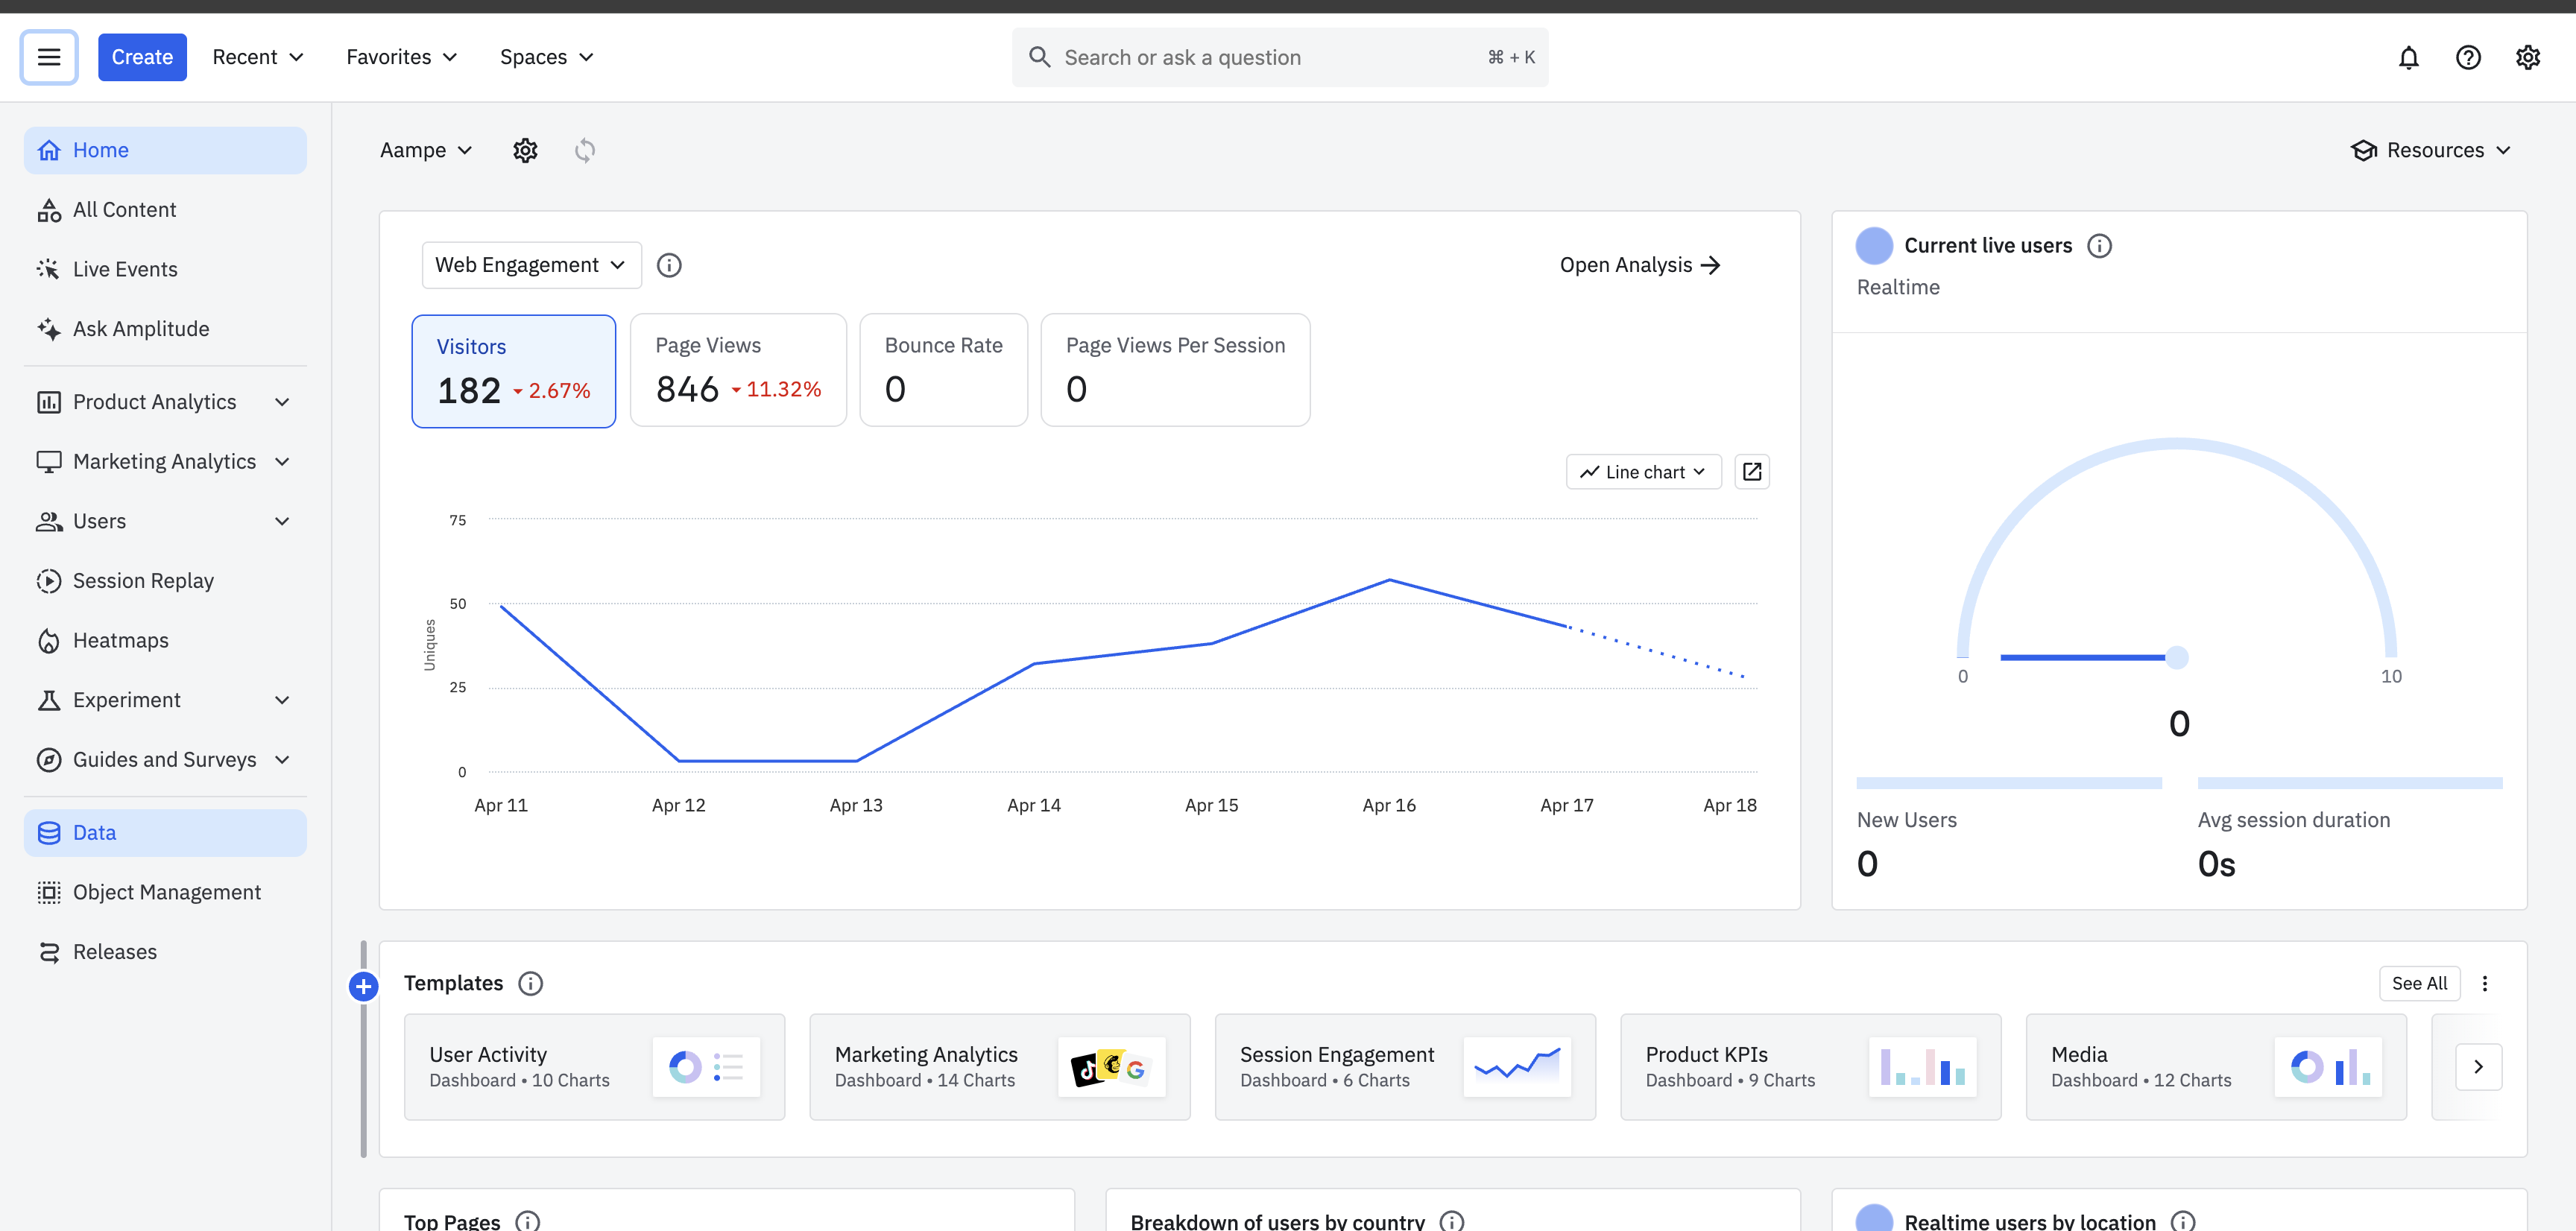
- Go to Menu -> Data
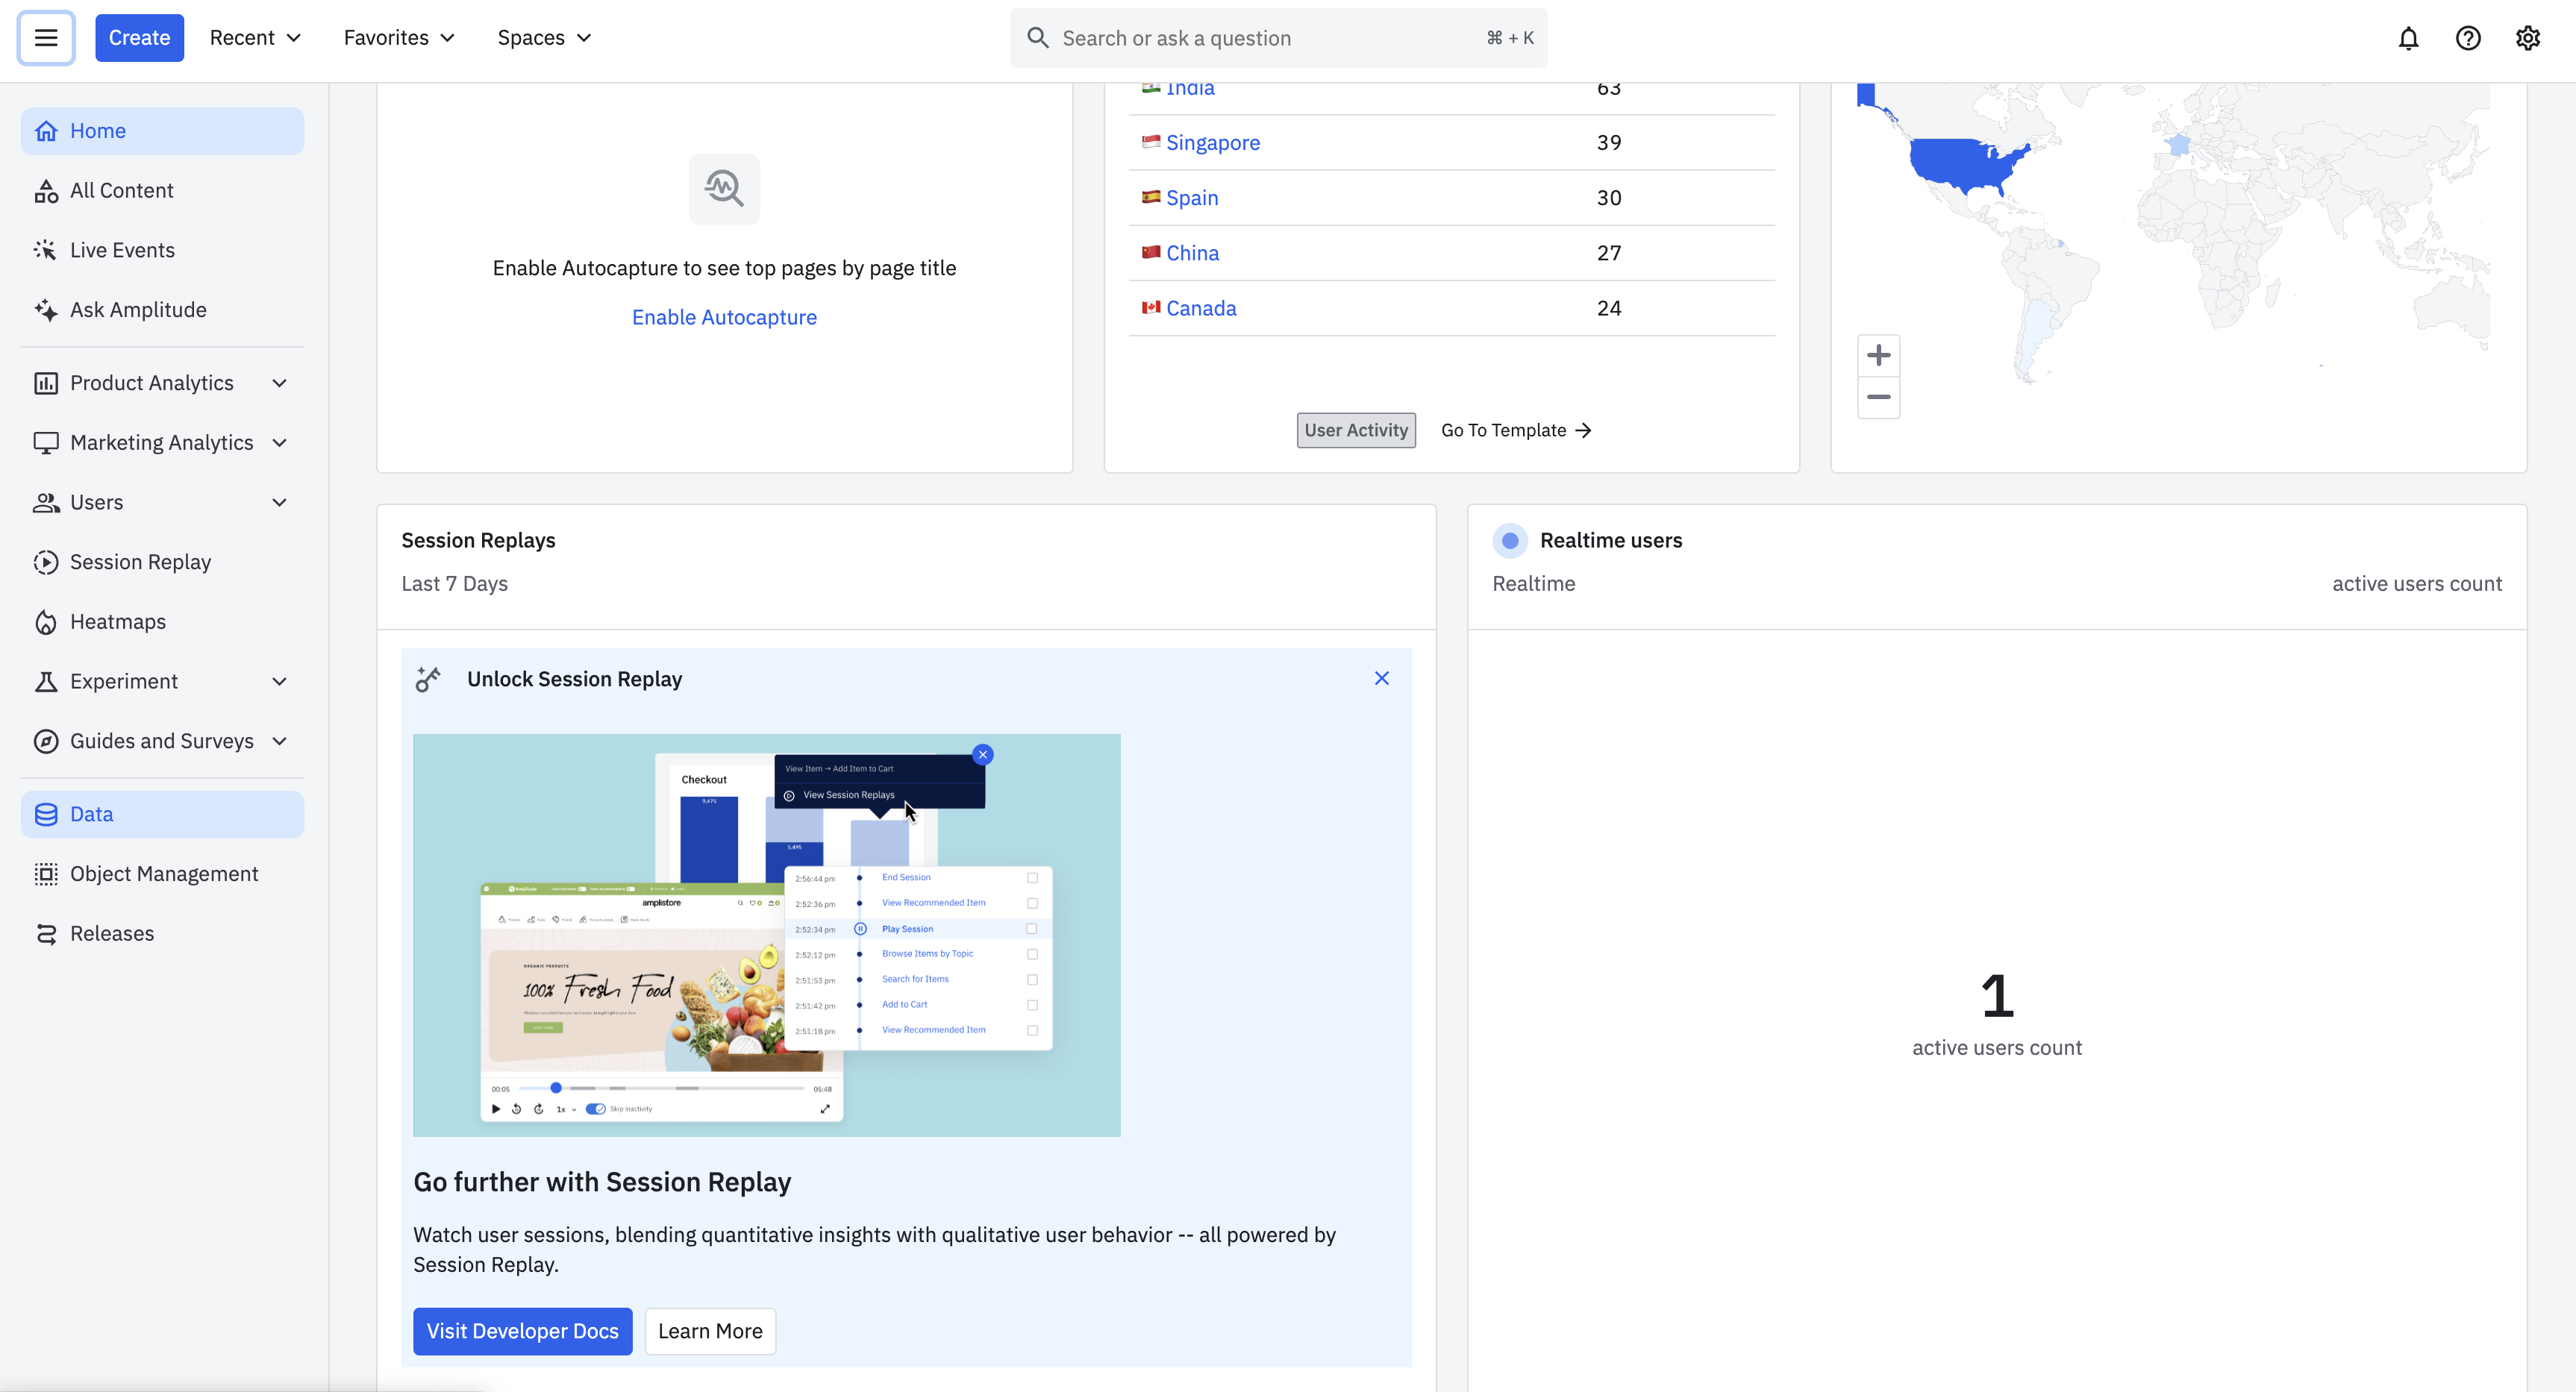
-
Click on Destinations
-
Search for Aampe and select Events and User Properties
-
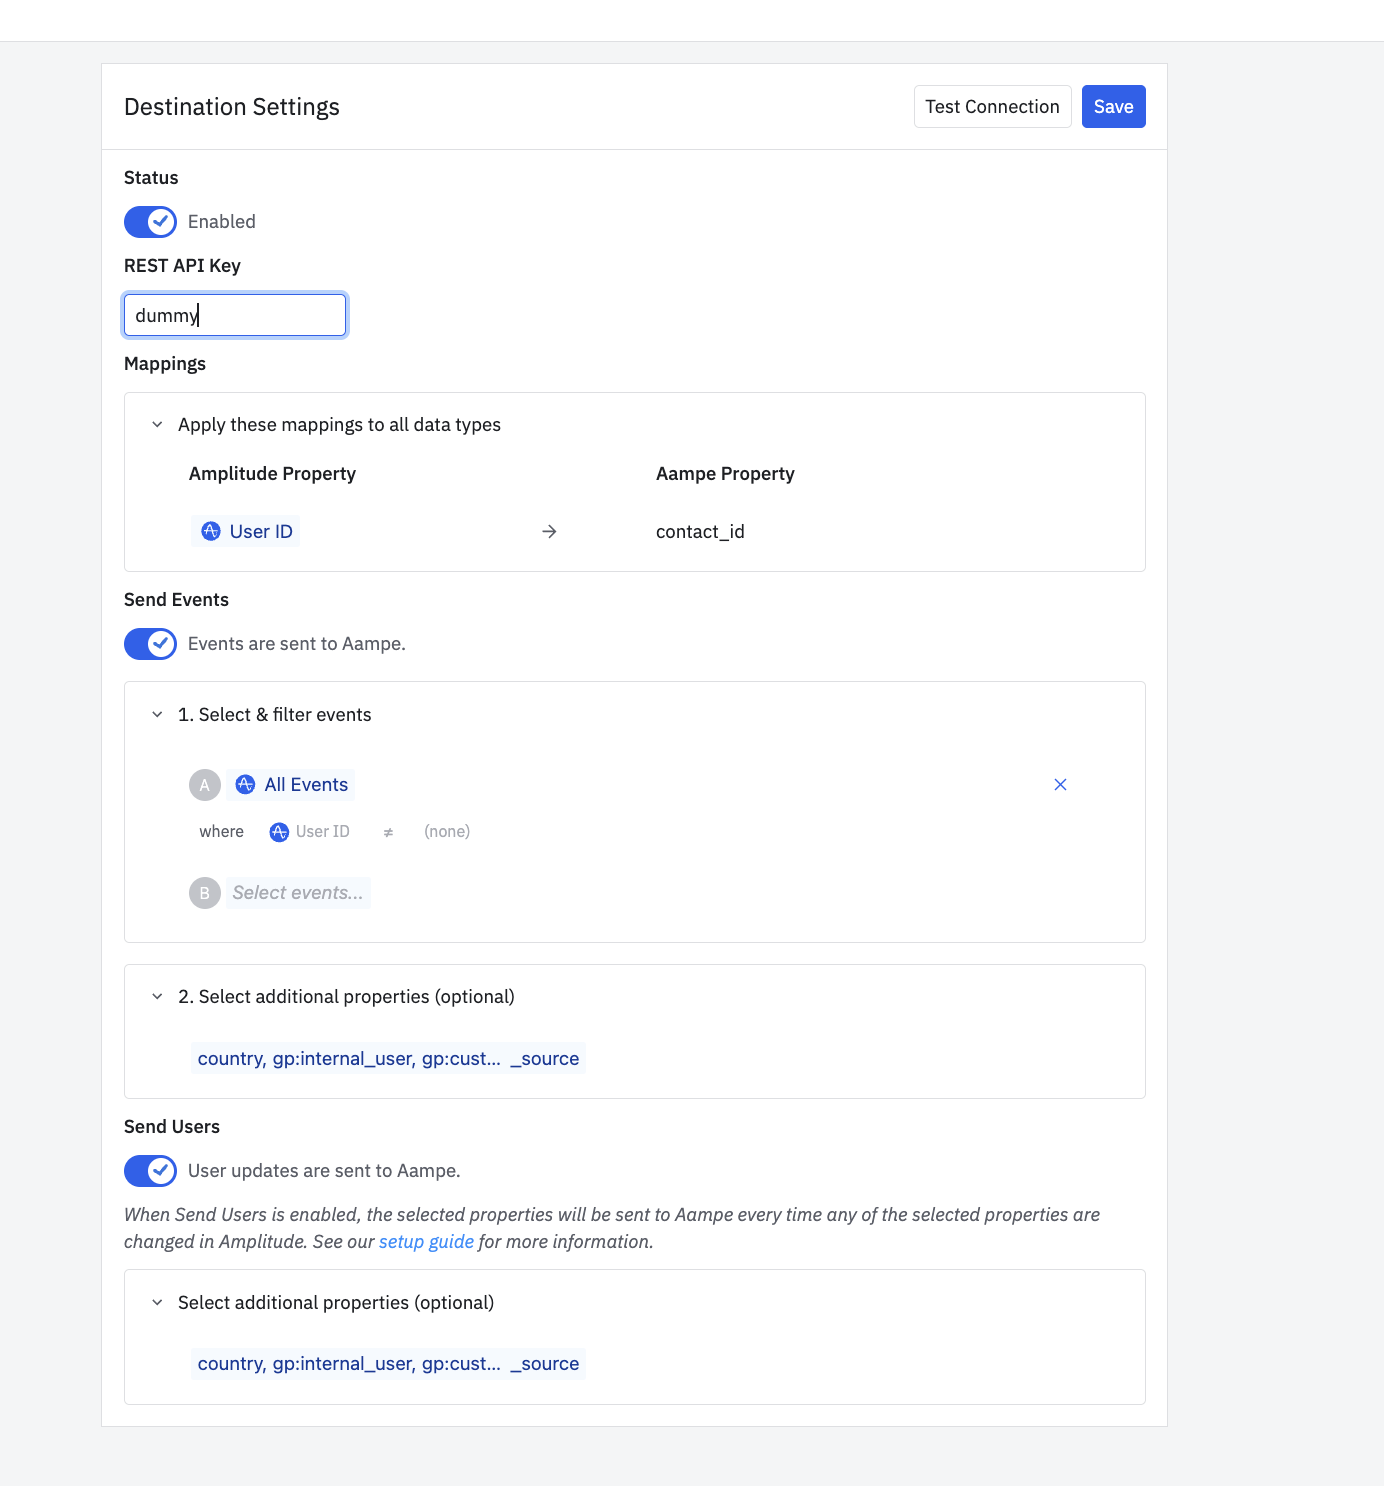
Enter the following details
- Sync Name: Aampe - Data Integration
- Status: Enabled
- User identifier: Select the User ID mapping. Here you want to select user ID which connects to your other aampe data, Aim for a non PII identifier if available.
- REST API Key: {api_key}
REST API Key
-
- Important Note
Note that you will need the API key that you can fetch from - Go to: https://compose.aampe.com/system-setup/integrations/events
- Login using your org credentials
- Select Connect next to Aampe endpoint
- Copy the API key
- Paste it in place of {api_key}
- Important Note
-
-
Check that both Send Users and Send Events are selected
-
Select the events and properties you want to send, Ideally you select all user events so that aampe can agentically learn user behavior better.
You can also select additional user properties that you want to send with each event.
-
Hit Save
-
Integration is live\
Custom Webhook to send data to Aampe
Events
- Go to Menu -> Data -> Destinations
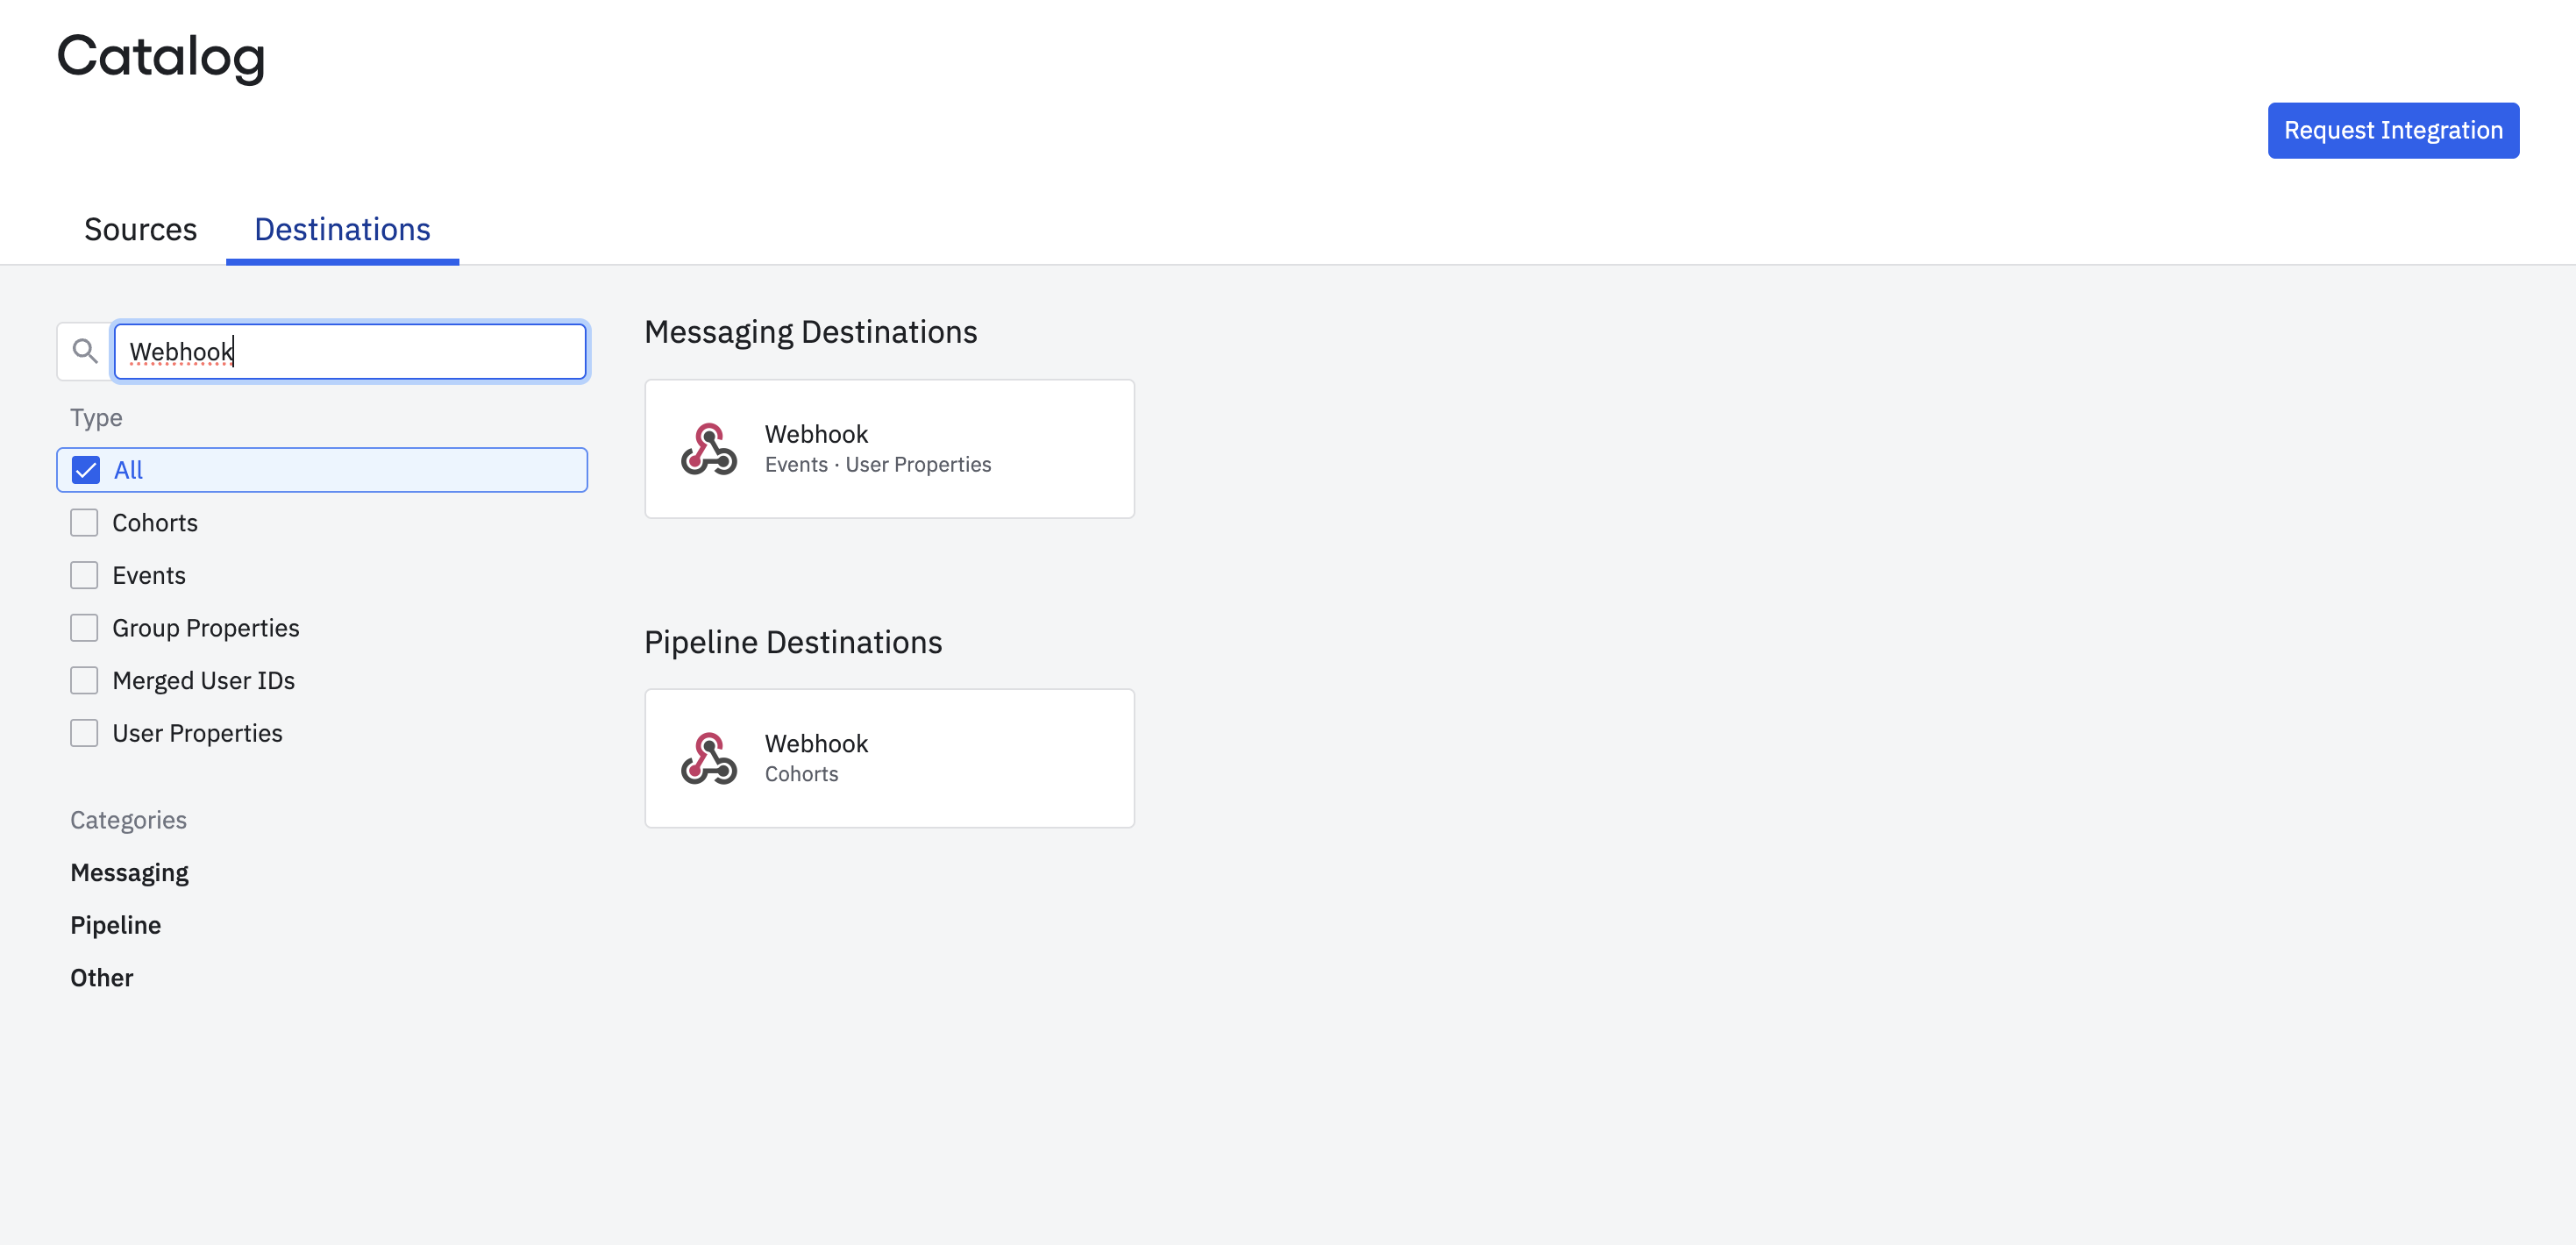
- Click on Add Destination (+)
- Search for Webhook -> Select the first one (Events and User Properties) - Do not select Cohorts webhook for this integration
-
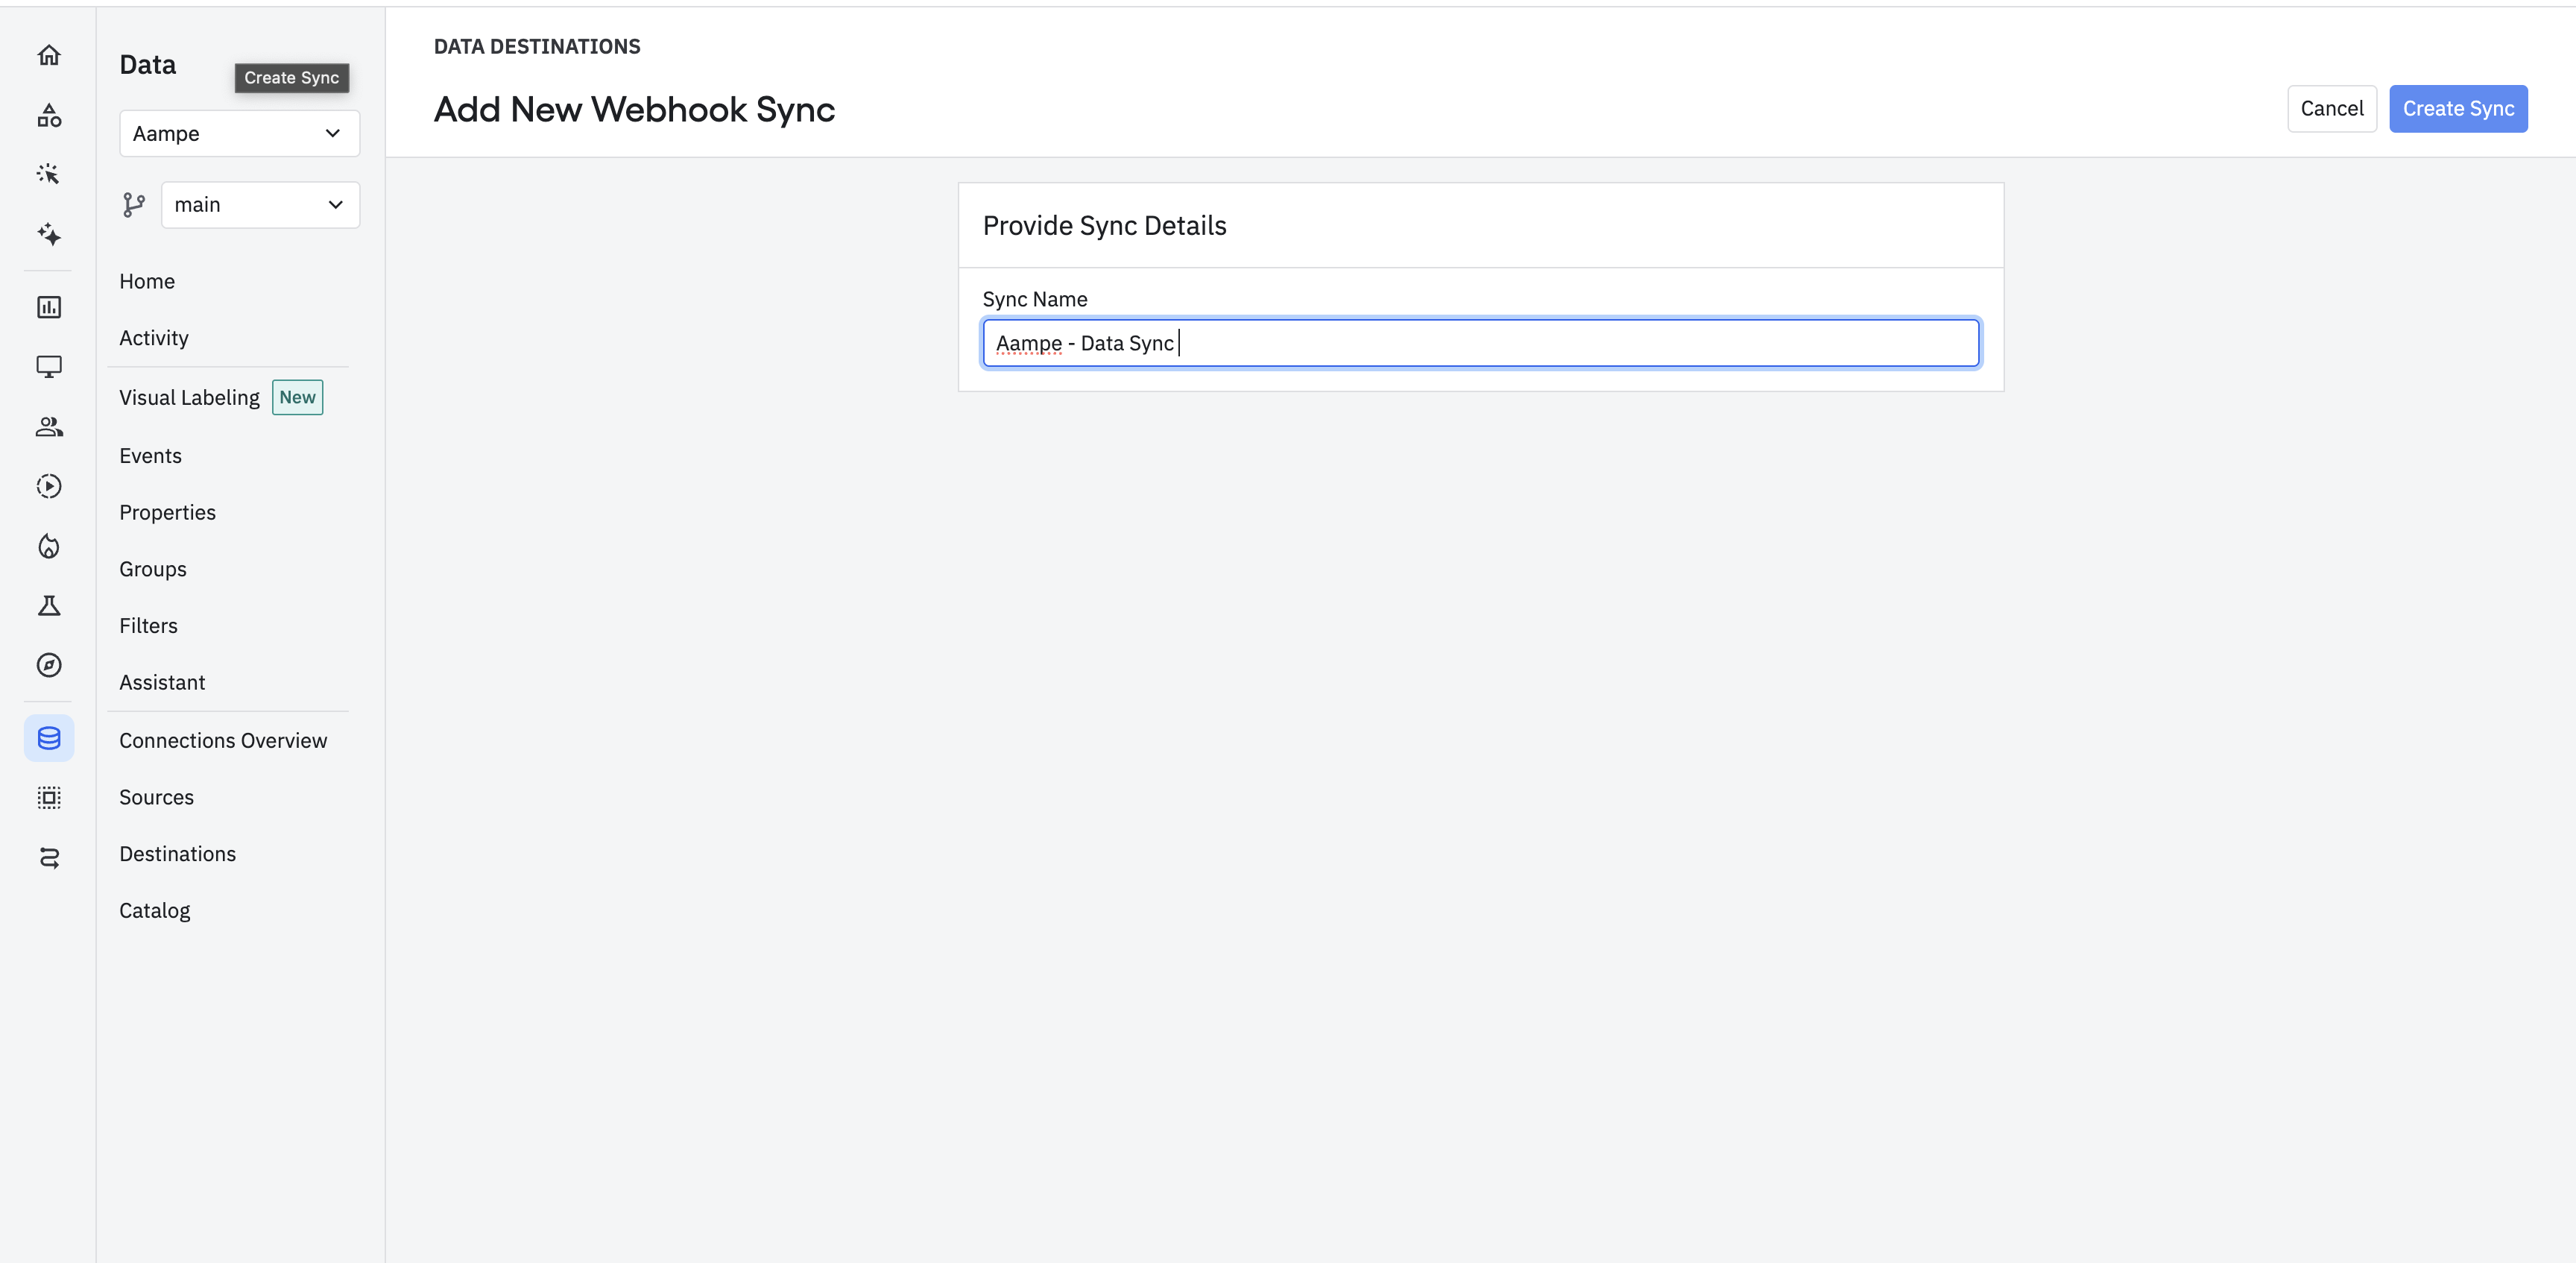
Click on Add Destination
-
Give the name: Aampe - Events Sync
-
Add the following details
-
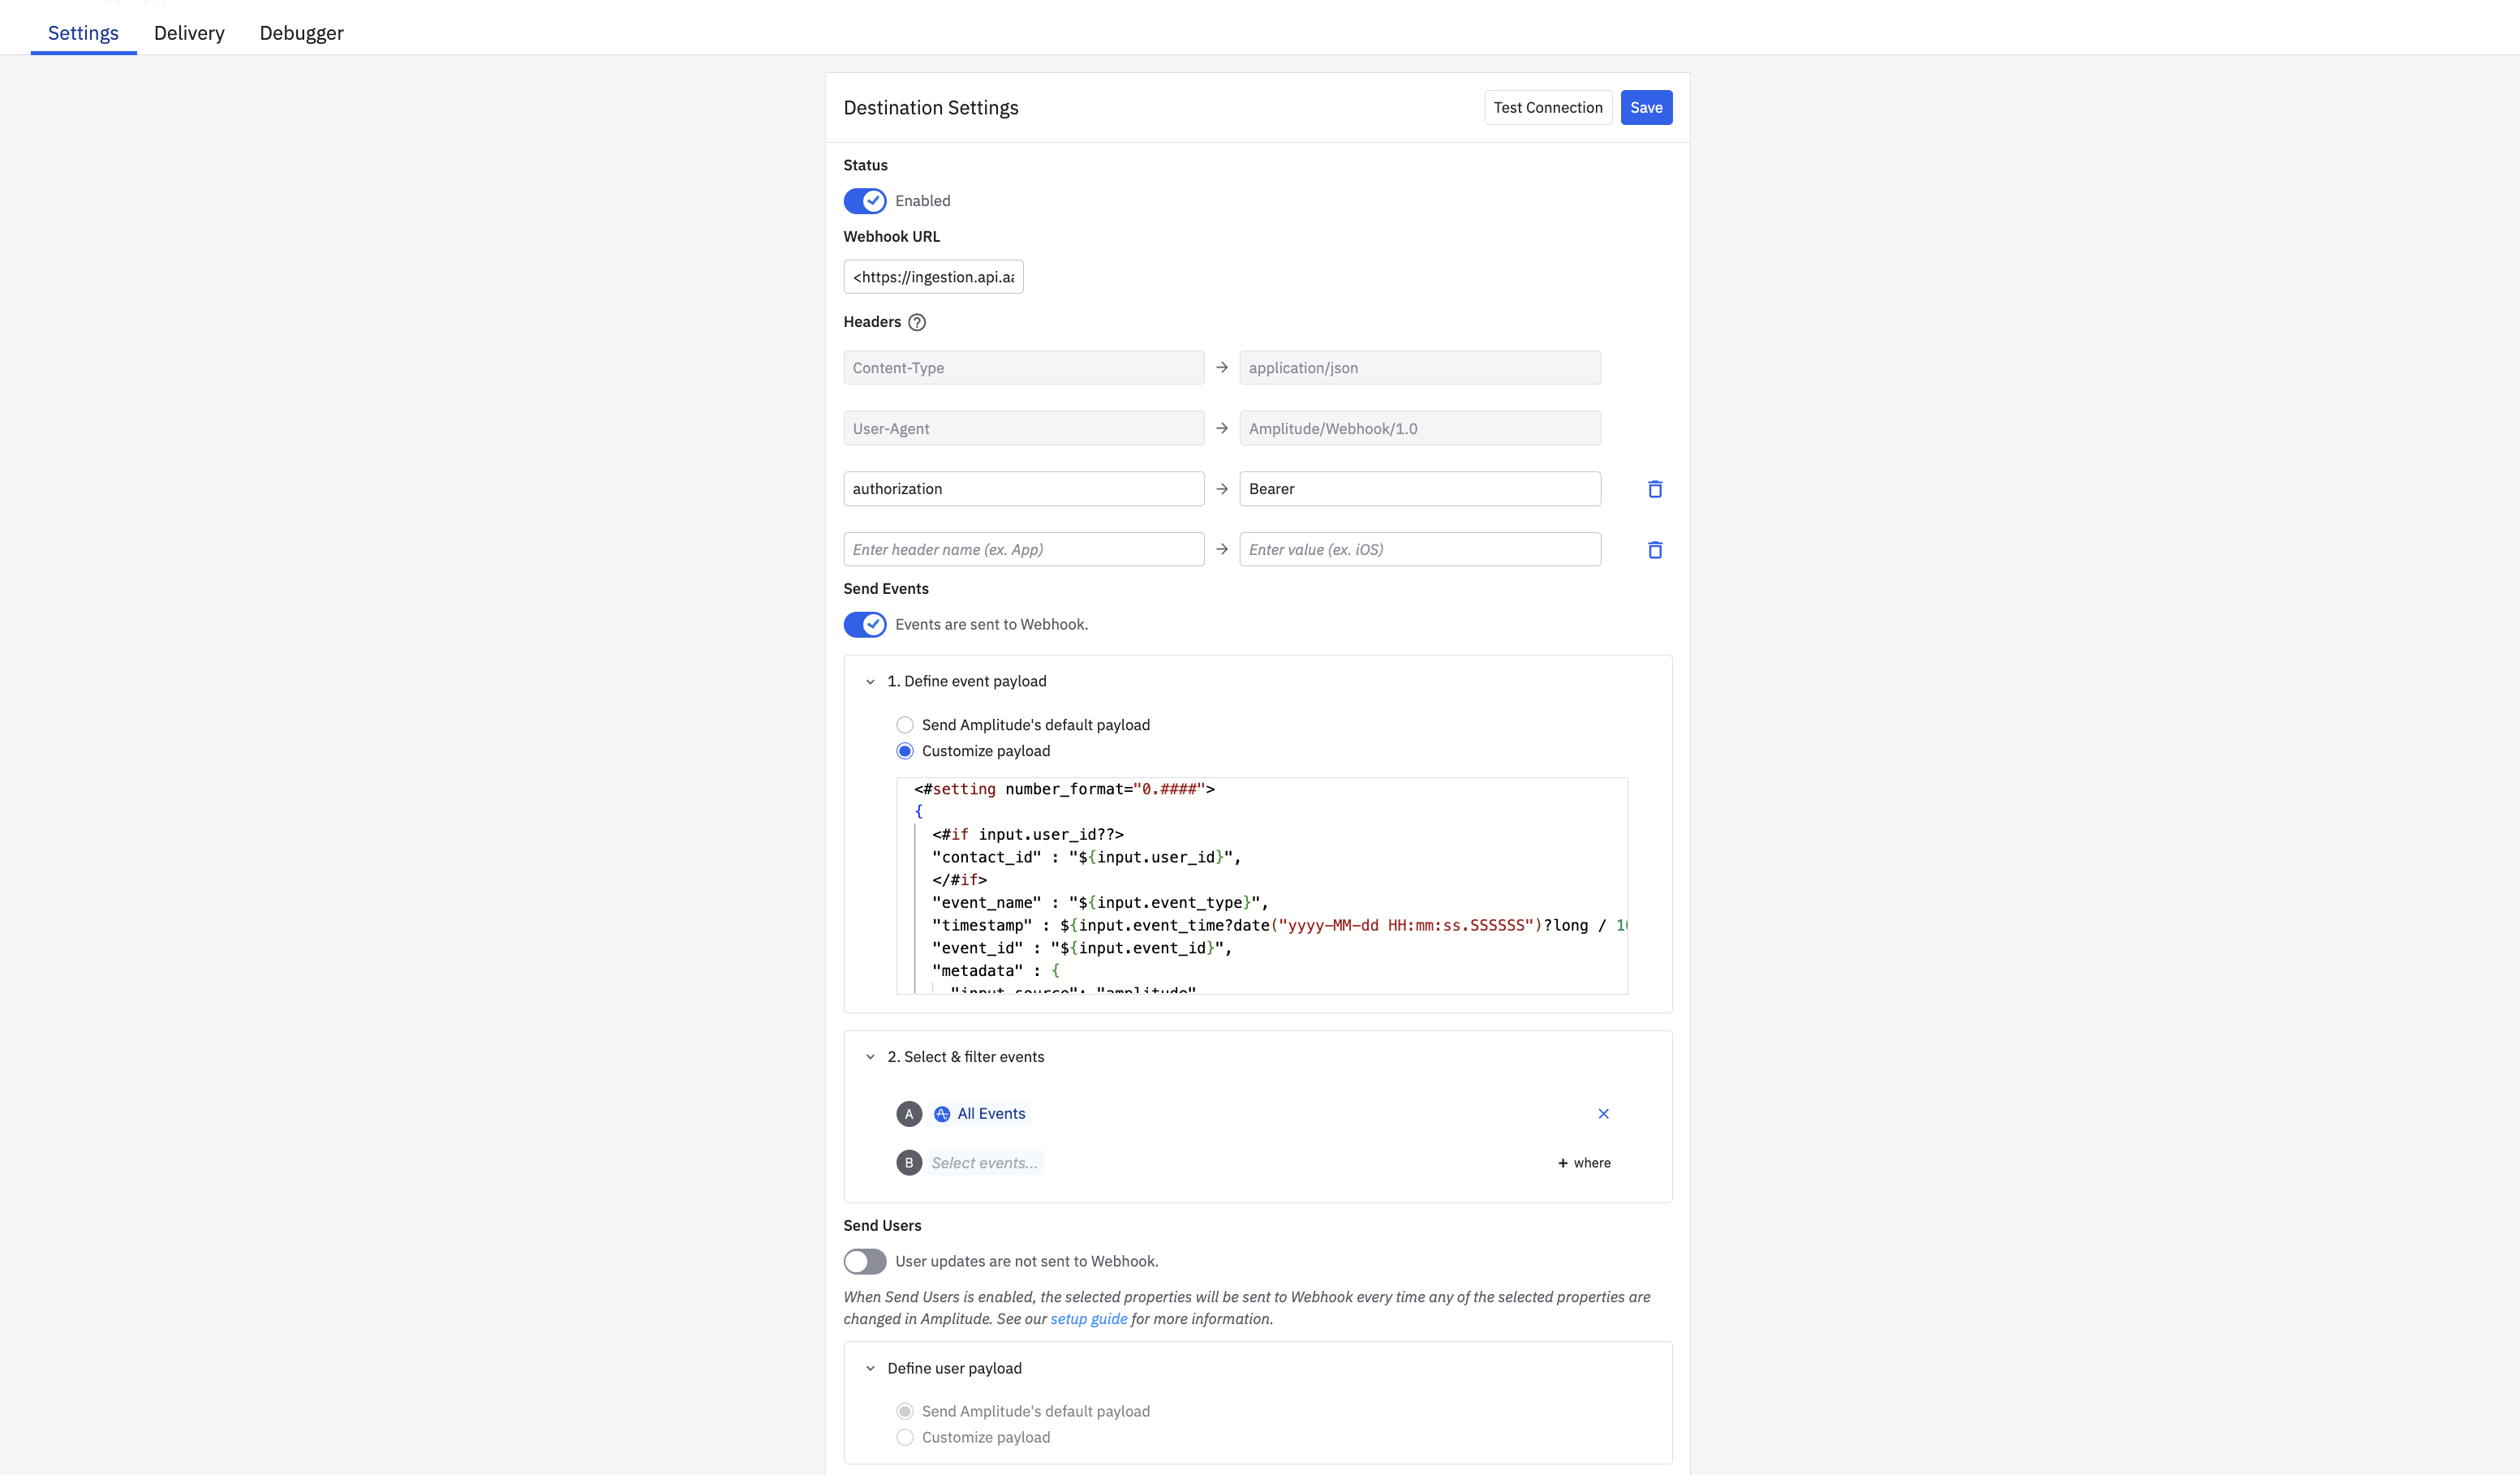
Status: Enabled
-
Webhook URL: https://ingestion.api.aampe.com/v1/events
-
Headers: Add the following Header:
- Key: authorization
- Value: Bearer {api_key}\
Important NoteNote that you will need the API key that you can fetch from
- Go to: https://compose.aampe.com/system-setup/integrations/events
- Login using your org credentials
- Select Connect next to Aampe endpoint
- Copy the API key
- Paste it in place of {api_key}
- Sample:
Bearer my_token
-
Enable Send Events
-
Click on Events Payload -> Customize payload
-
Enter the following:
<#setting number_format="0.####"> { <#if input.user_id??> "contact_id" : "${input.user_id}", </#if> "event_name" : "${input.event_type}", "timestamp" : ${input.event_time?date("yyyy-MM-dd HH:mm:ss.SSSSSS")?long / 1000}, "event_id" : "${input.event_id}", "metadata" : { "input_source": "amplitude", <#if input.amplitude_id??> "amplitude_id": "${input.amplitude_id}", </#if> <#if input.country??> "geo_country": "${input.country}", </#if> <#if input.region??> "geo_region": "${input.region}", </#if> "event_properties": { <#list input.event_properties?keys?filter(key -> input.event_properties[key]?has_content) as key> "${key}": <#if input.event_properties[key]?is_string>"${input.event_properties[key]?json_string}"<#else>${input.event_properties[key]}</#if><#sep>,</#sep> </#list> }, "user_properties": { <#list input.user_properties?keys?filter(key -> input.user_properties[key]?has_content) as key> "${key}": <#if input.user_properties[key]?is_string>"${input.user_properties[key]?json_string}"<#else>${input.user_properties[key]}</#if><#sep>,</#sep> </#list> } } } -
Select the events you want to send (ideally all events)
-
Keep Send Users disabled
-
-
Hit Save
User Properties
We need to repeat the same steps for user properties with the following changes
-
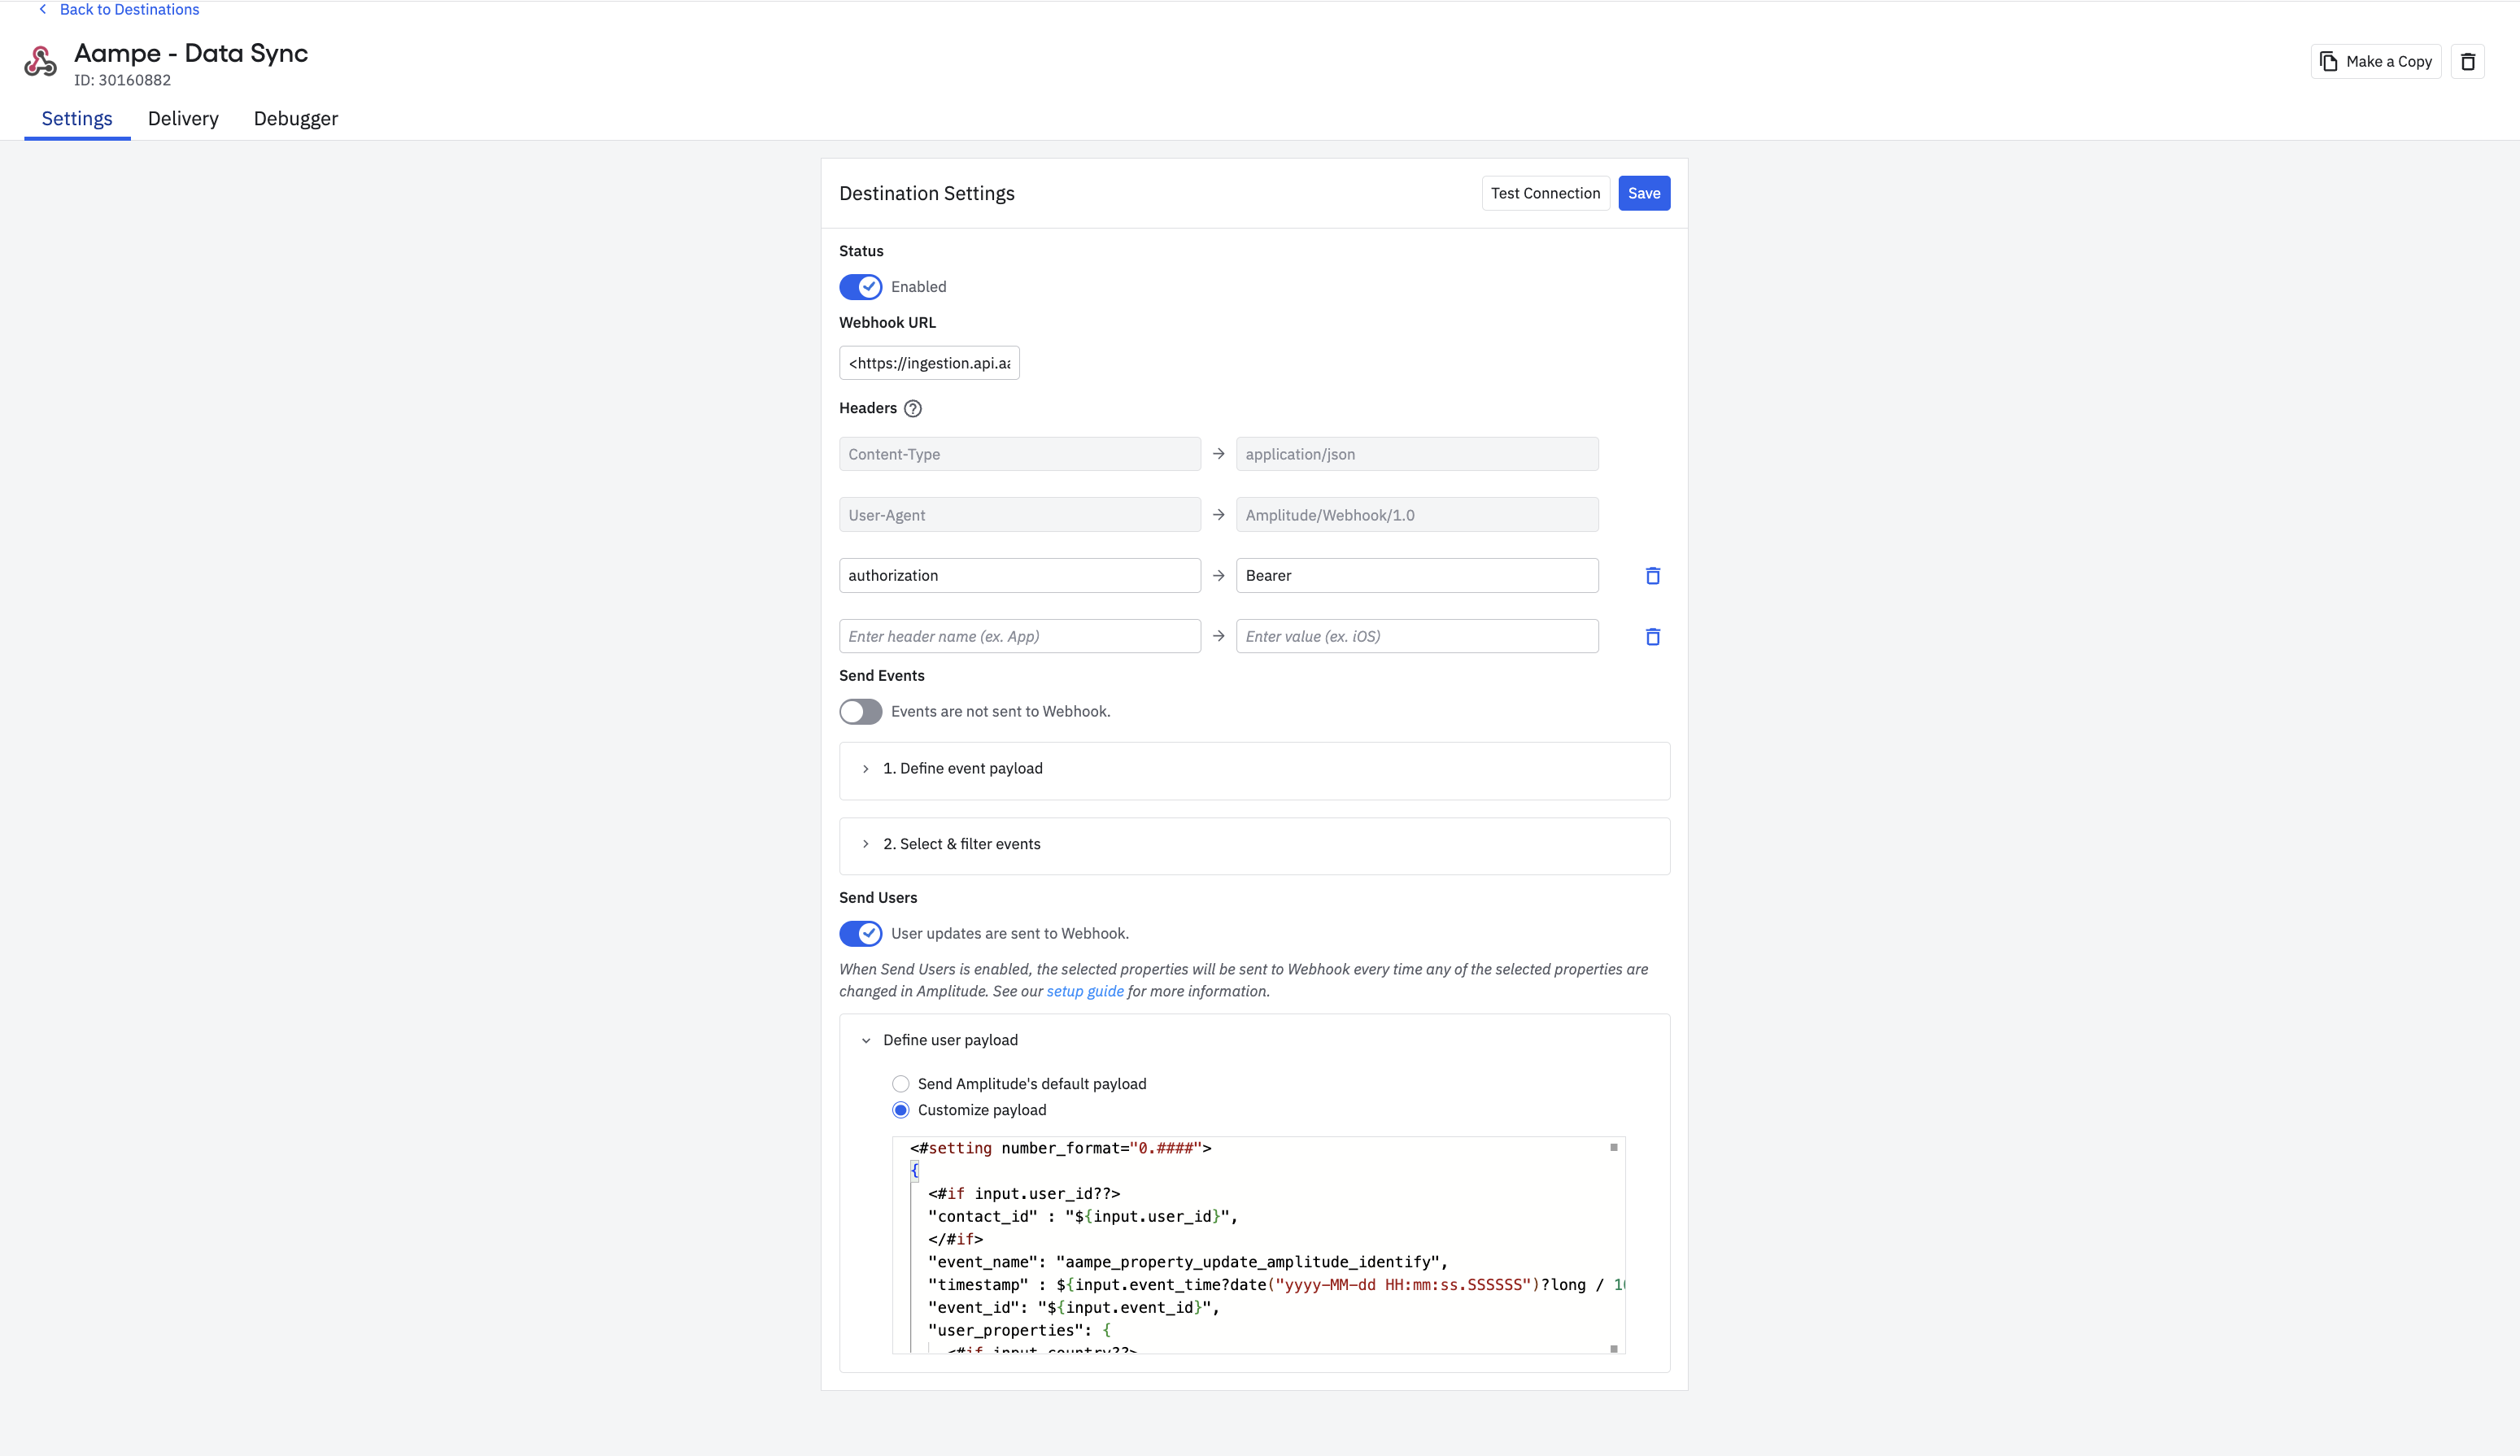
Name will be: Aampe - Properties Sync
-
Webhook URL: https://ingestion.api.aampe.com/v1/properties
-
Disable Send Events
-
Enable Send Users and Hit Customize Payload
Copy the following:<#setting number_format="0.####"> { <#if input.user_id??> "contact_id" : "${input.user_id}", </#if> "event_name": "aampe_property_update_amplitude_identify", "timestamp" : ${input.event_time?date("yyyy-MM-dd HH:mm:ss.SSSSSS")?long / 1000}, "event_id": "${input.event_id}", "user_properties": { <#if input.country??> "geo_country": "${input.country}", </#if> <#if input.city??> "geo_city": "${input.city}", </#if> <#if input.language??> "user_language": "${input.language}", </#if> <#if input.region??> "geo_region": "${input.region}", </#if> <#if input.user_properties??> <#list input.user_properties?keys?filter(key -> input.user_properties[key]?has_content) as key> "${key}": <#if input.user_properties[key]?is_string>"${input.user_properties[key]?json_string}"<#else>${input.user_properties[key]}</#if><#sep>,</#sep> </#list> </#if> }, "metadata": { "input_source": "amplitude" } }
-
Hit Save
This will complete setup of events and properties
Batch Sync
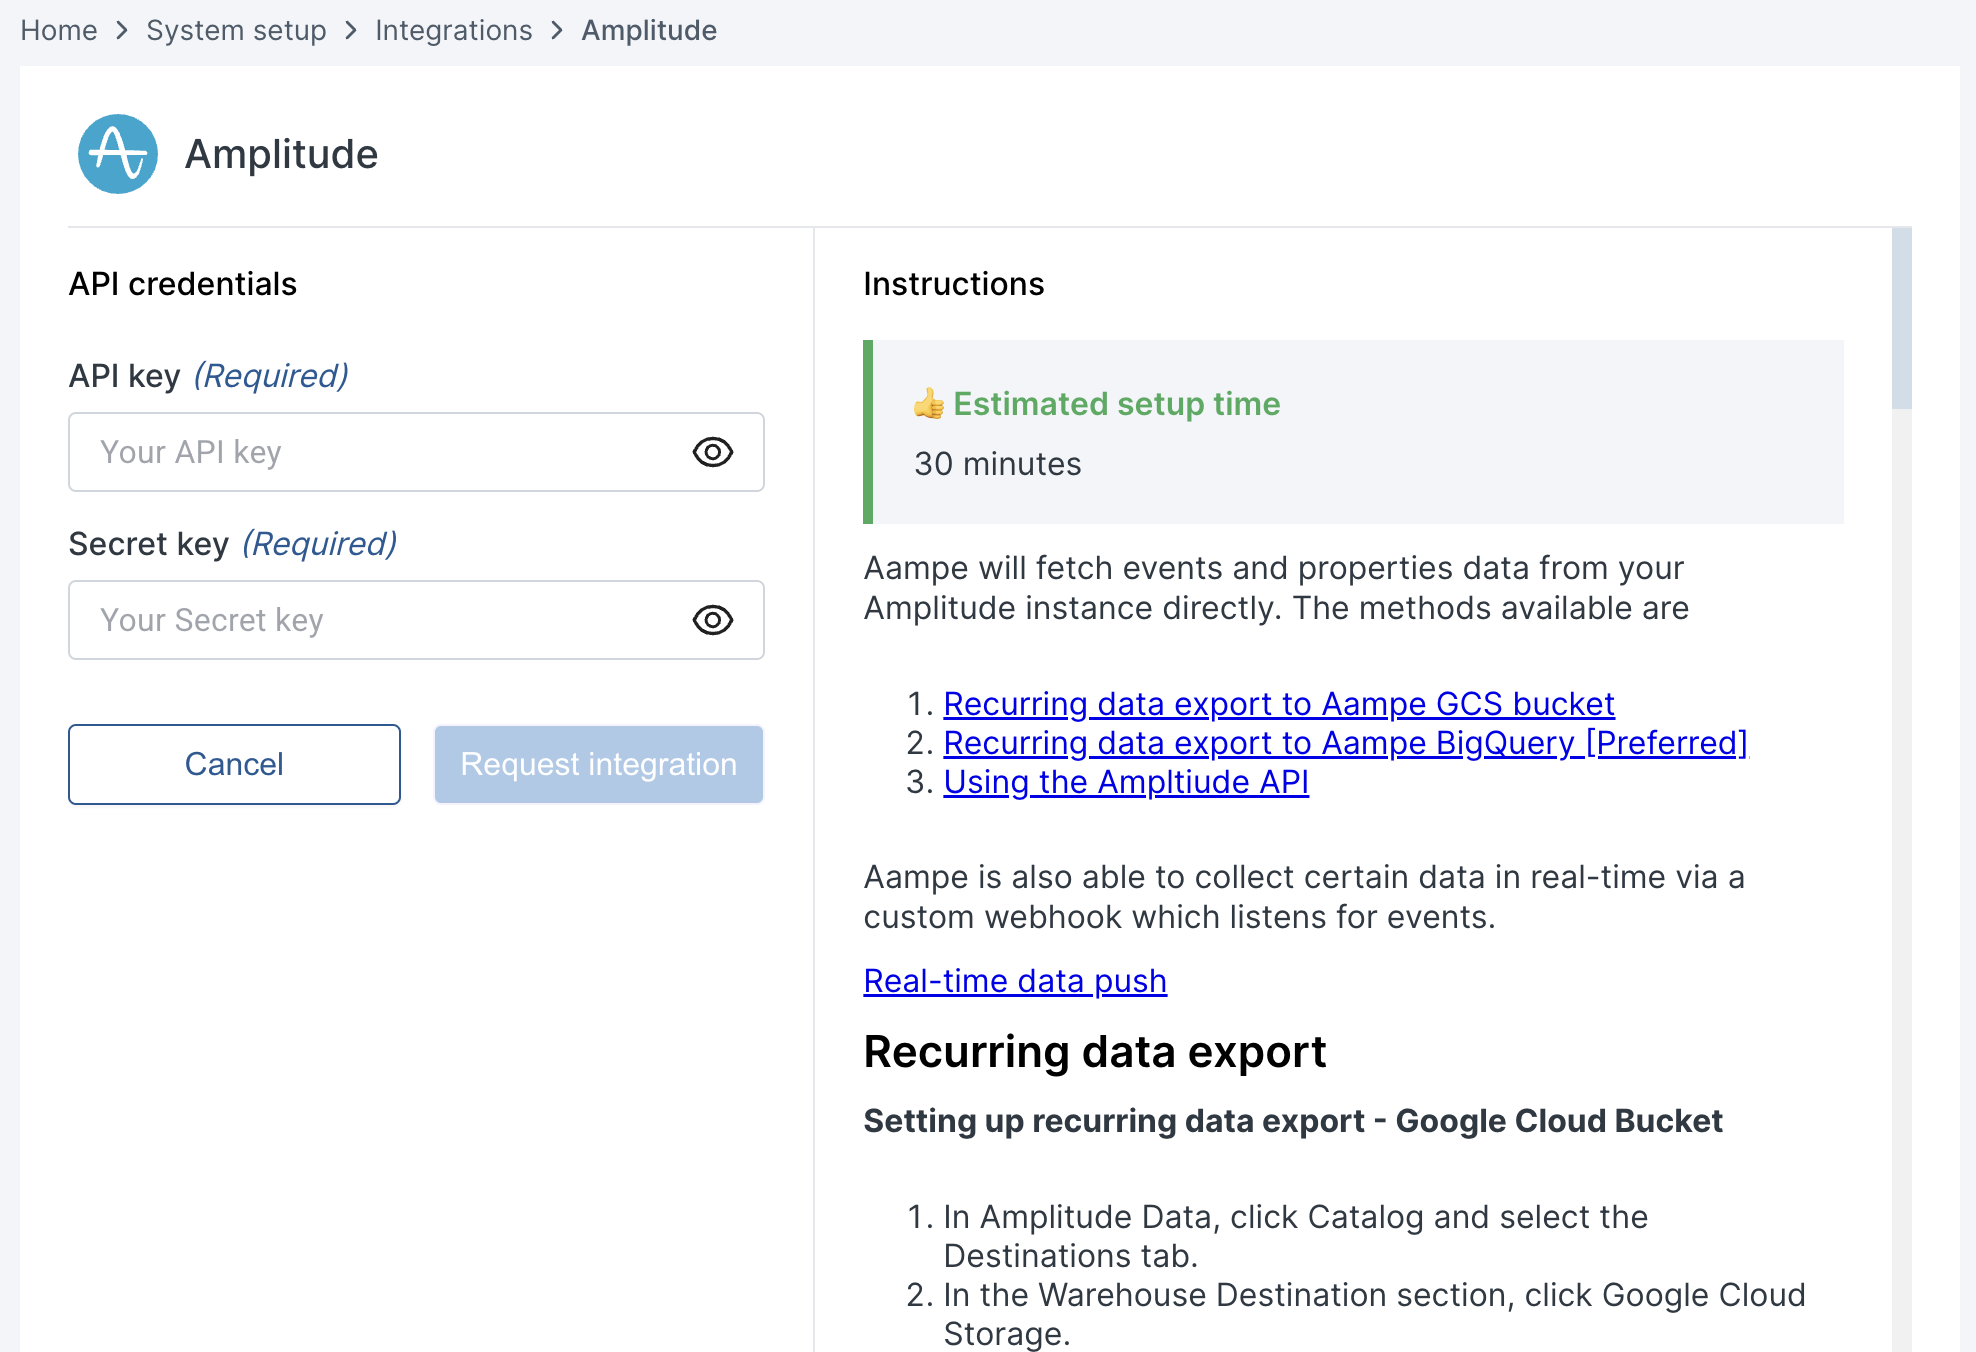
Aampe will pull events and properties data from your Amplitude instance directly at a regular cadence.
The methods available are
- Recurring data export to Aampe GCS bucket
- Recurring data export to Aampe BigQuery [Preferred]
- Using the Ampltiude API
Recurring data export
Setting up recurring data export - Google Cloud Bucket
- In Amplitude Data, click Catalog and select the Destinations tab.
- In the Warehouse Destination section, click Google Cloud Storage.
- On the Getting Started tab, select the data you'd like to export. You can Export events ingested today and moving forward, Export all merged Amplitude IDs, or both. For events, you can also specify filtering conditions to only export events that meet certain criteria.
- Review the Event table and Merge IDs table schemas and click Next.
- In the Google Cloud Credentials For Amplitude section, upload the Service Account Key file. This file must be in JSON format and will be provided by Aampe. After the account service key is uploaded, fill out the Google Cloud bucket details in the Google Cloud Bucket Details section as provided by Aampe team
- Click Next. Amplitude attempts a test upload to check that the entered credentials work. If the upload is successful, click Finish to complete the GCS destination configuration and activation.
Setting up recurring data export - Google Bigquery
- Amplitude will directly write data to the Aampe BigQuery instance
- In the Warehouse Destination section, click Big Query.
- On the Getting Started tab, select the data you'd like to export and the export's cadence. You can Export events ingested today and moving forward, Export all merged Amplitude IDs, or both. For events, you can also specify filtering conditions to only export events that meet certain criteria.
- Review the schemas for the Event table and the Merge IDs table and click Next.
- Specify the BigQuery dataset to receive your Amplitude data, and upload the service account key file. This file must be in JSON format and will be provided by Aampe
- Click Next. Amplitude attempts a test upload to test the credentials. If the upload is successful, click Finish to complete the BigQuery destination configuration and activation.
Amplitude export API
Aampe will pull data from the amplitude Export API
This is only useful when data size is small. If data is larger you should go to Recurring data export
Requirements
- Your Amplitude API Key and Secret Key
Getting your API keys:
- In your Amplitude workspace, click on Settings at the bottom left of your screen
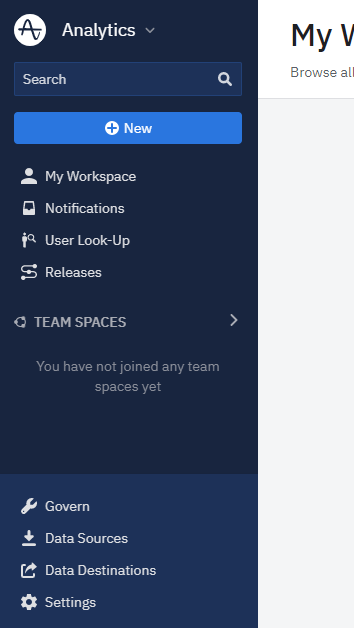
- Select Projects from the navigation bar that opens.
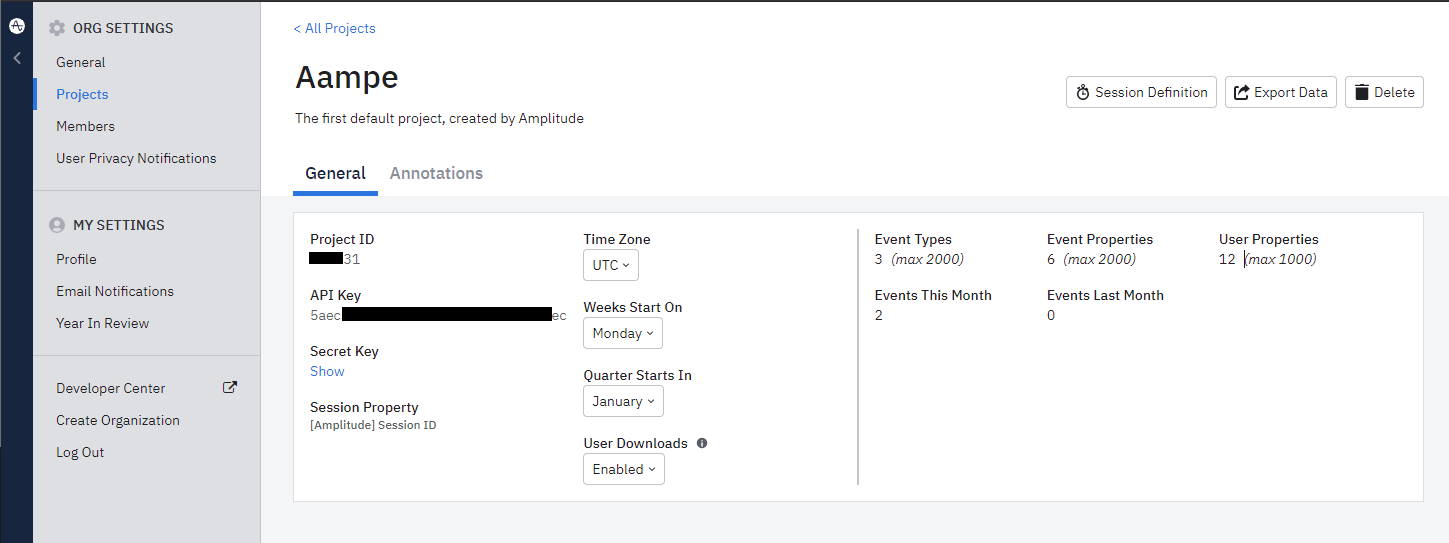
- Select the project with the events you would like Aampe to ingest.
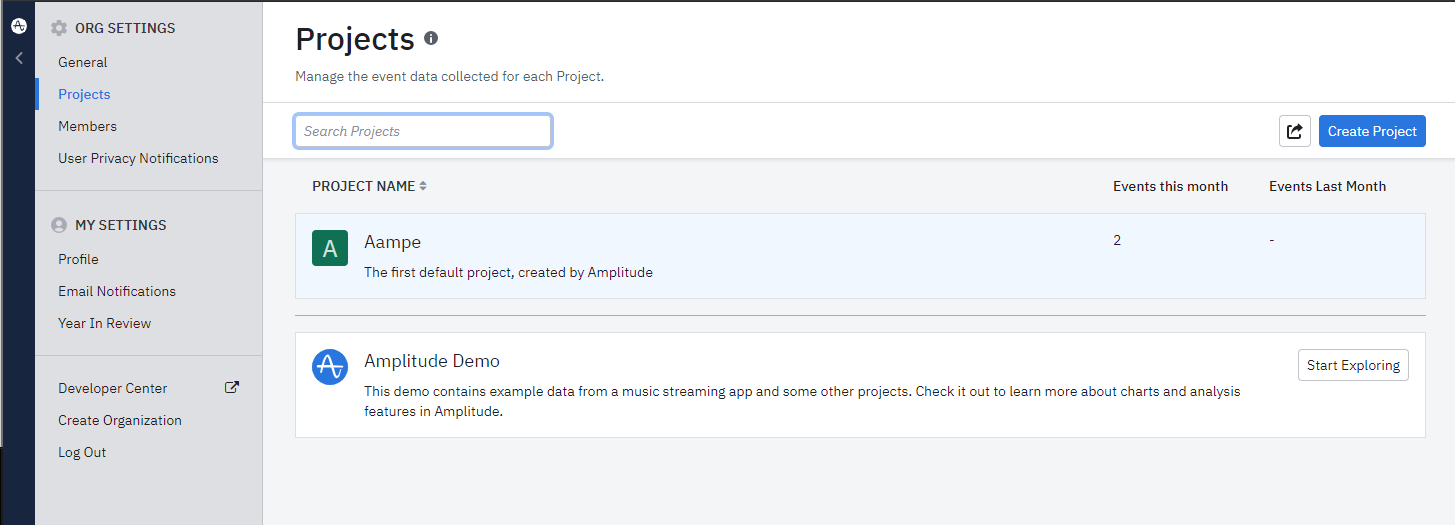
- Copy your API Key and Secret Key
- Navigate to System Settings > Integrations and select the Data Import tab
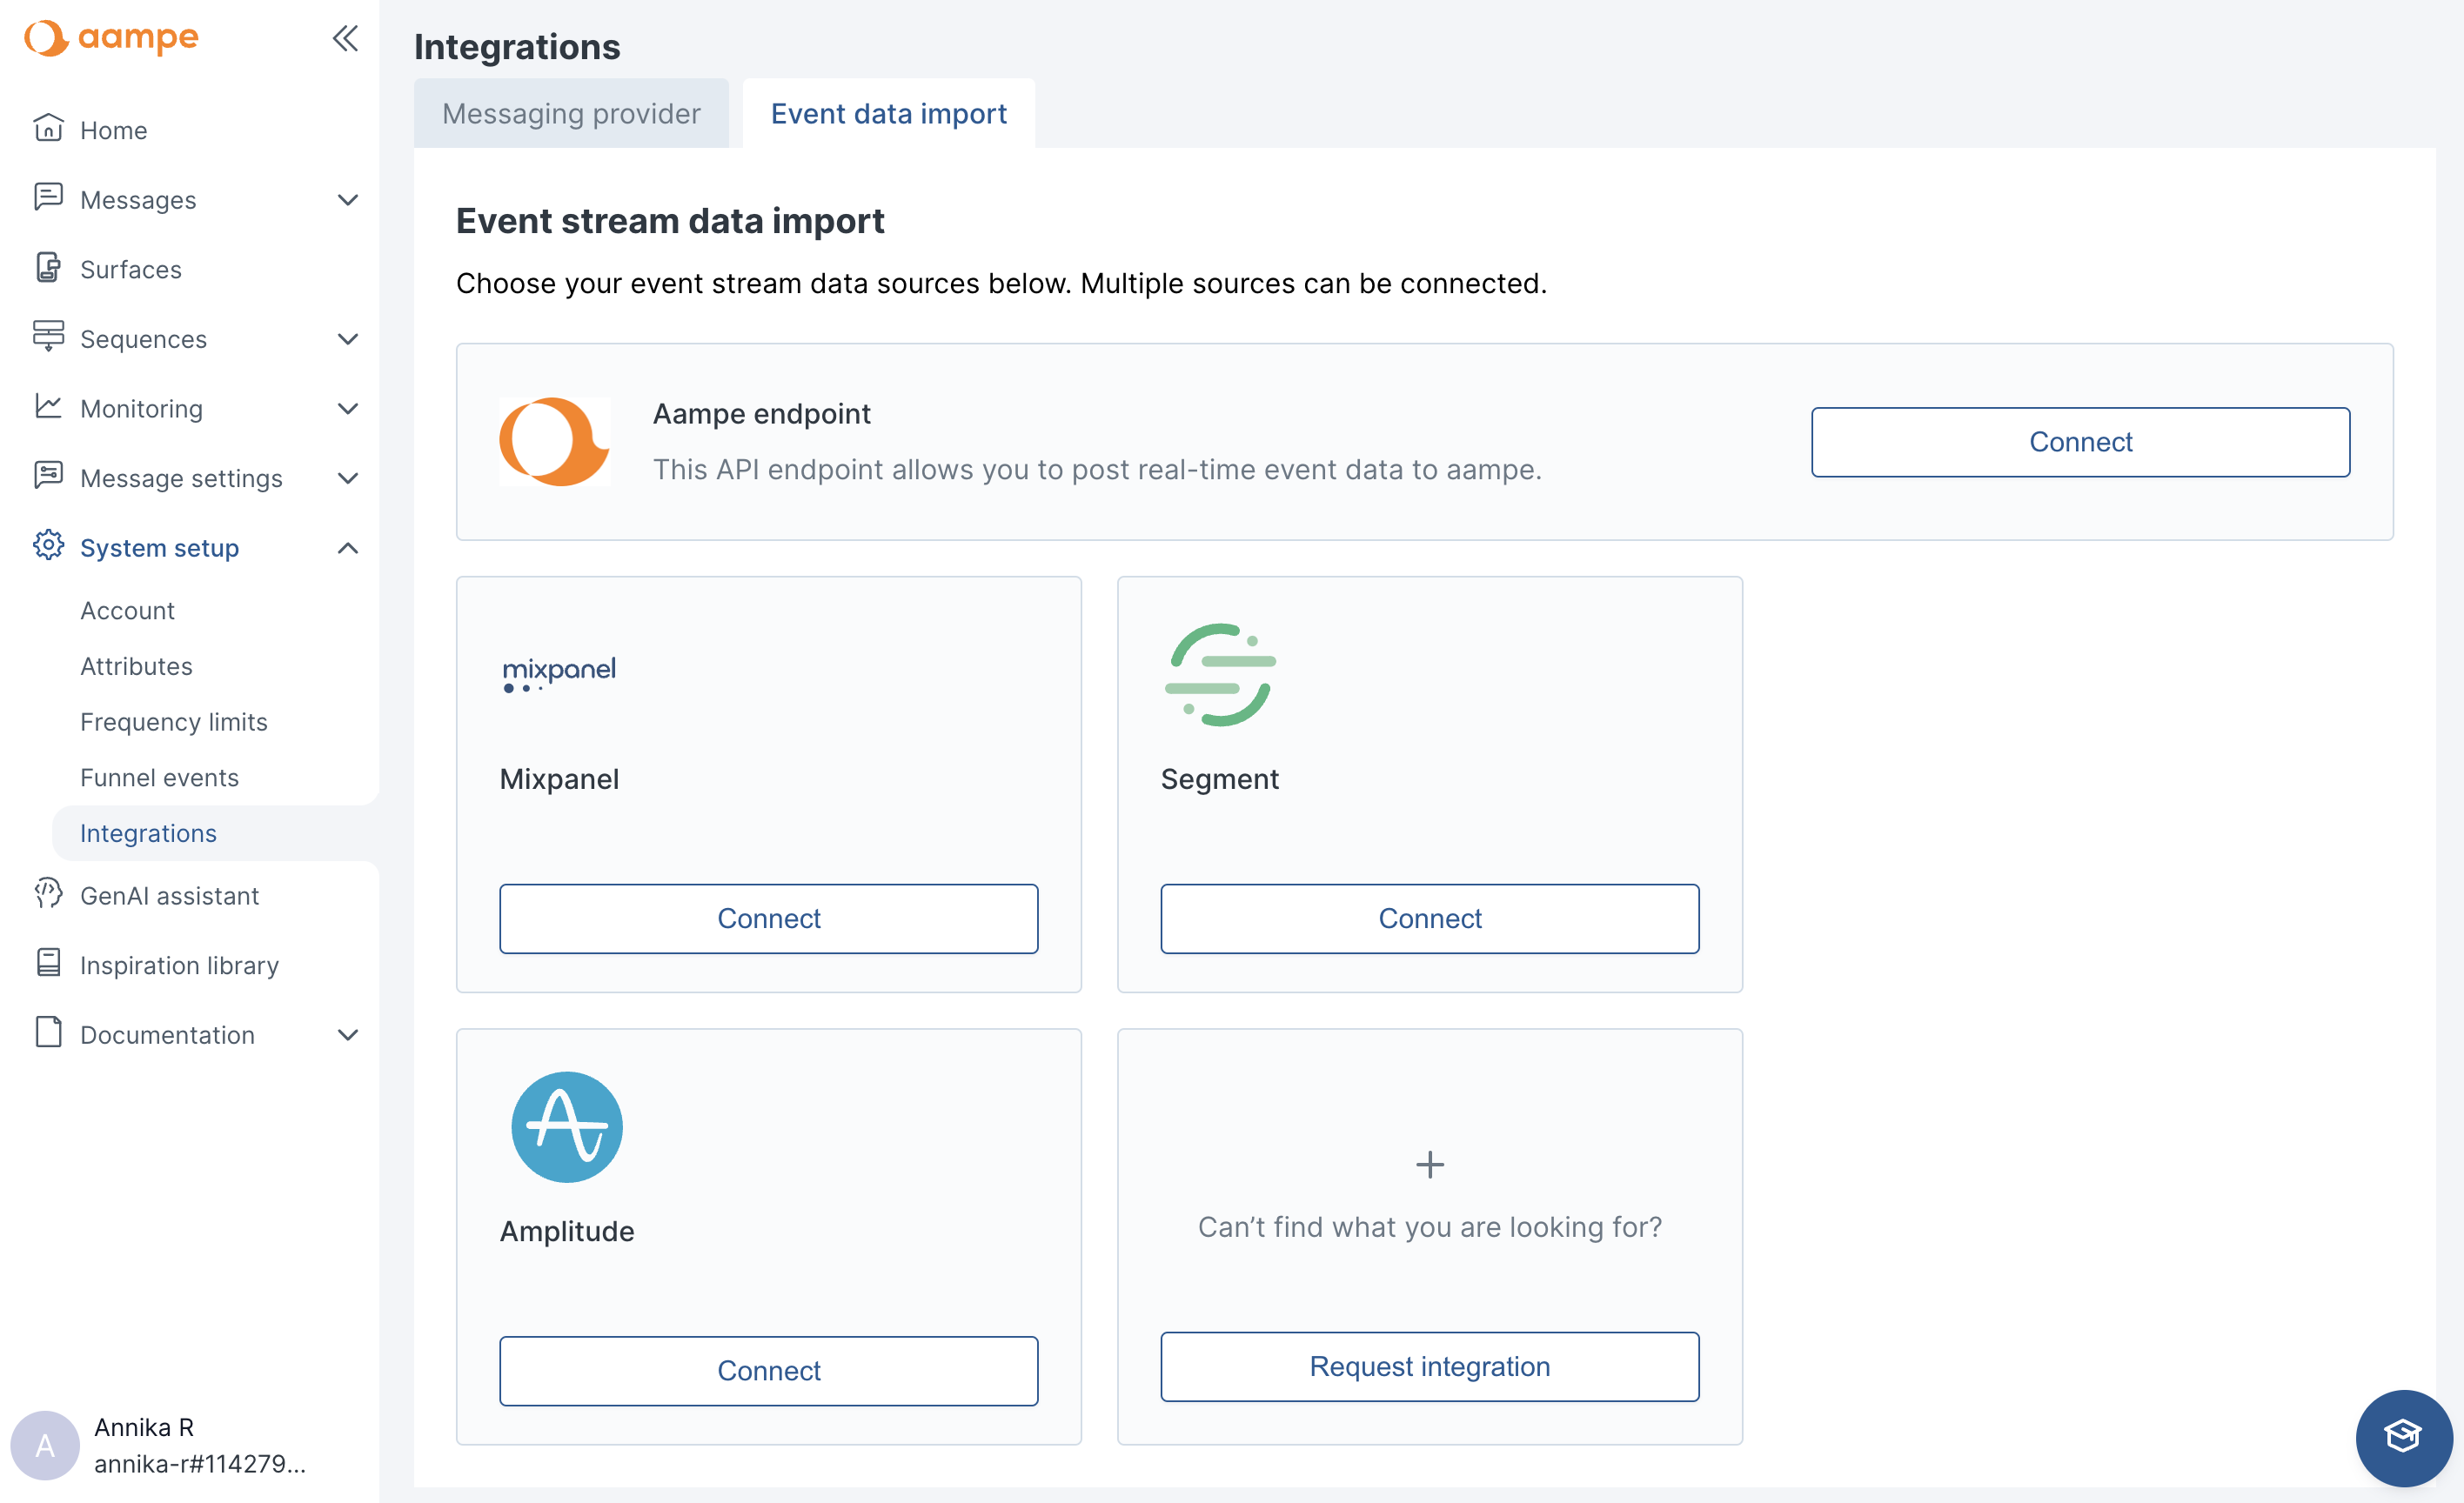
- Select Amplitude and add your credentials
Updated 4 months ago