Braze
Why do teams who use Braze report huge increases in their productivity and KPIs when they add Aampe to their MarTech stack?Read here to learn more.
Estimated setup time30 minutes
Connection Requirements
- An API Key for your app group.
- Braze App Id
- The Braze dashboard URL that you use (
dashboard-01to08ordashboard-01.braze.eu)
Note App Id setup is required only for email channel
Aampe will essentially call the Braze API for sending messages on your behalf.
Create an API key
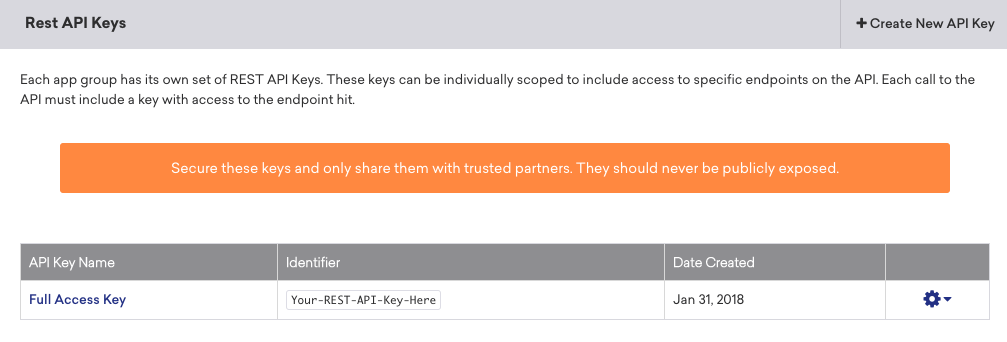
- Braze dashboard from Settings > API Keys**
- On this page you will find the Rest API Keys table

- Click on + Create New API Key
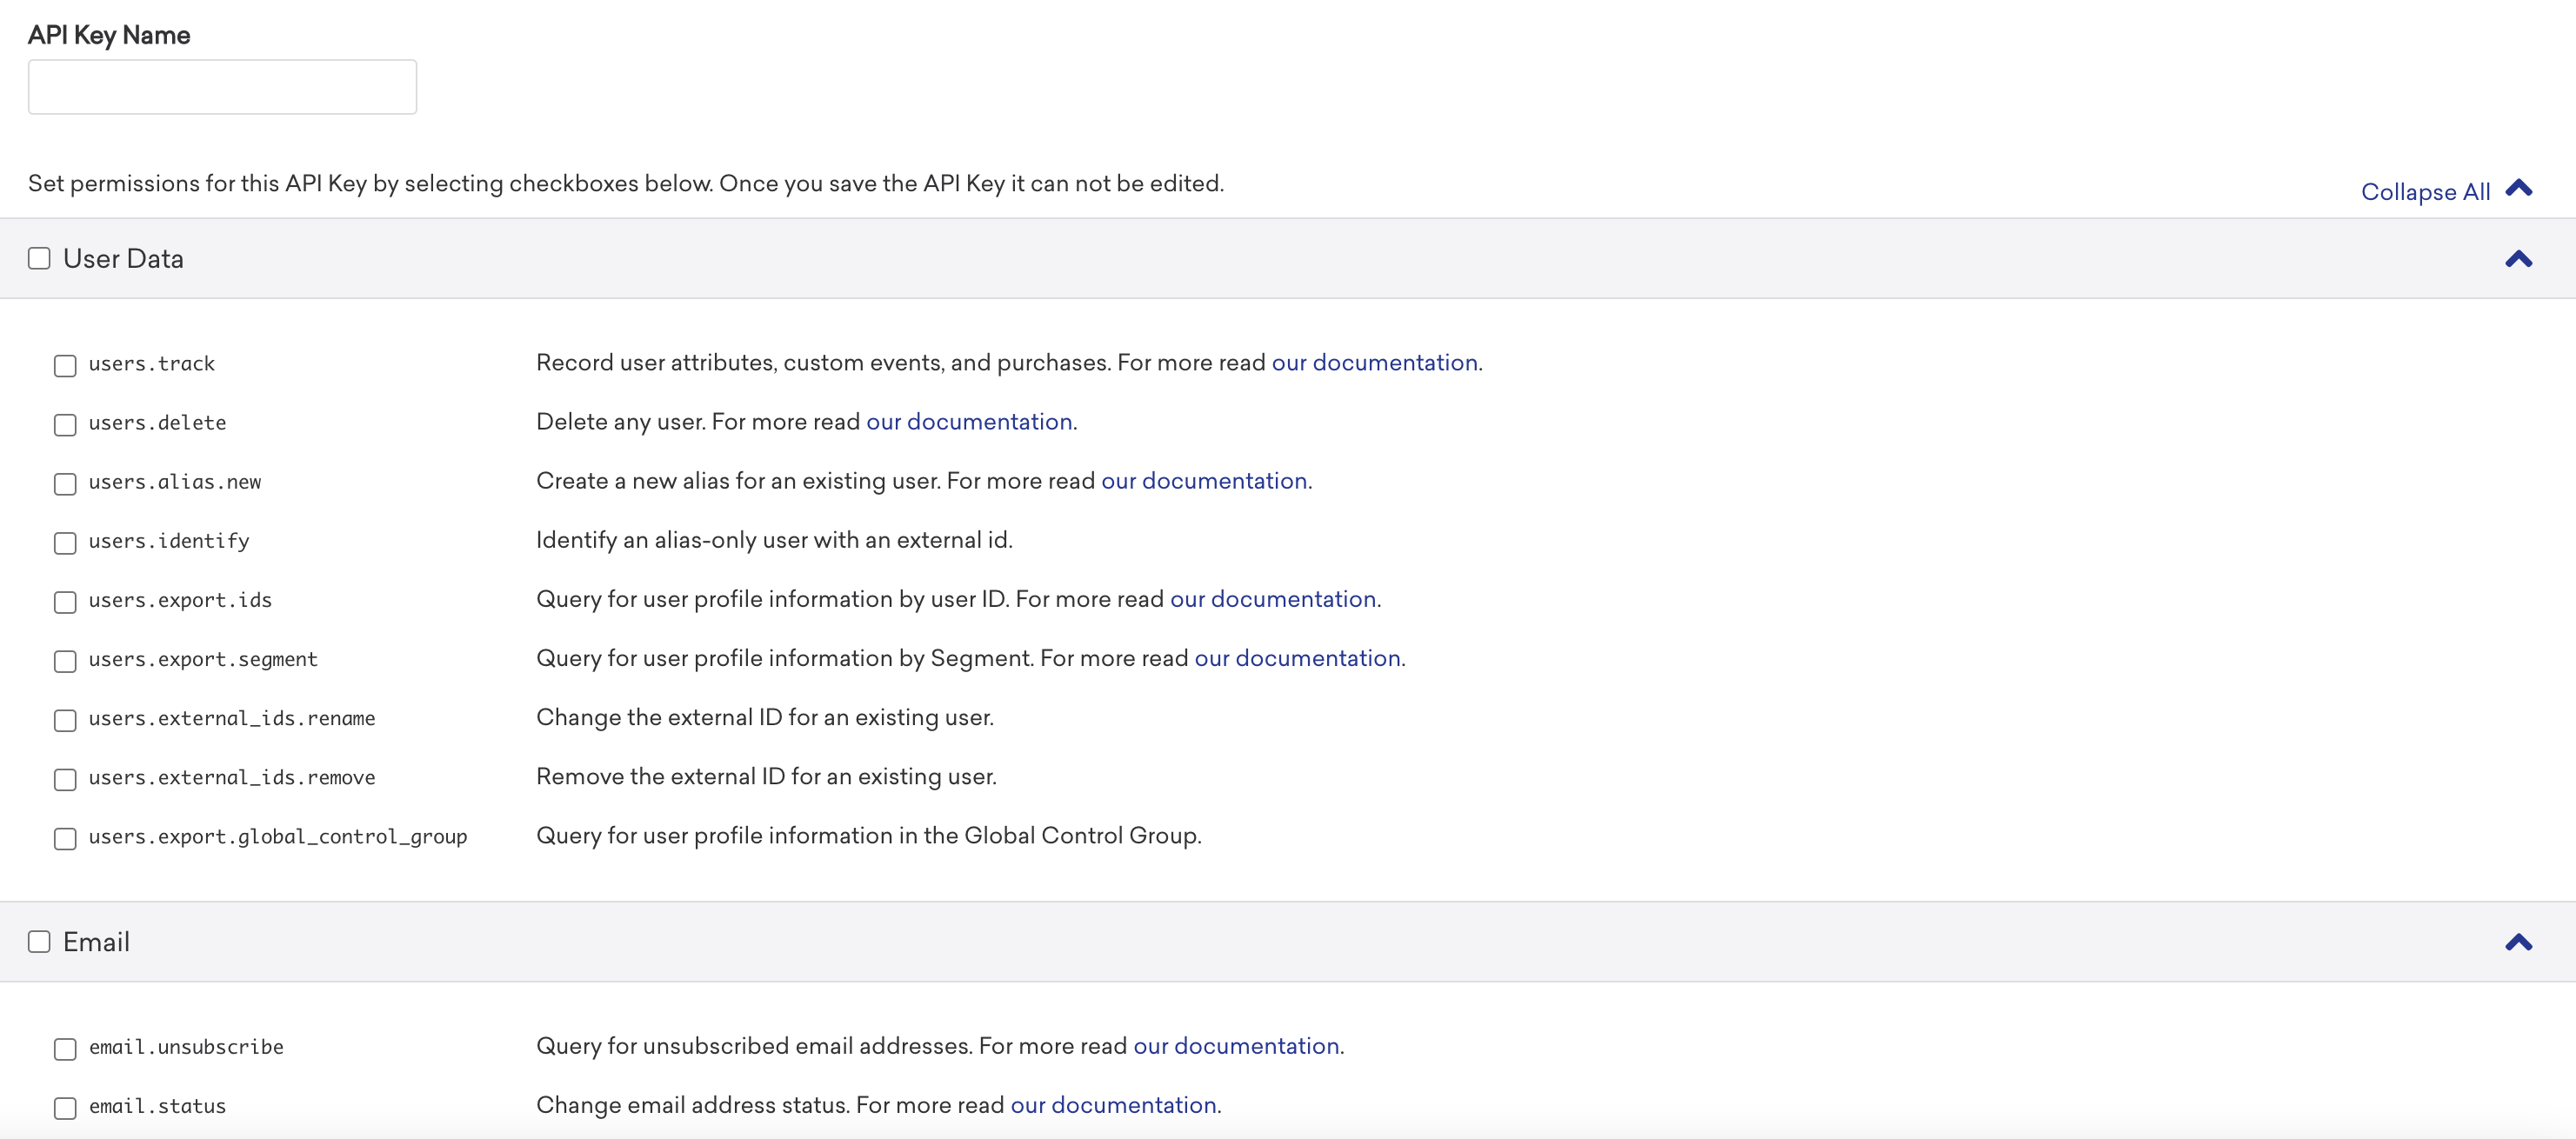
- Choose a name for your new key, such as aampe-personalisation
- Tick the checkboxes to add following permissions
| Braze Permission | Braze REST API endpoint | Aampe usage |
|---|---|---|
| users.export.ids | GET /users/export/ids | For exporting current users |
| users.export.segment | GET /users/export/segment | For exporting current user attributes |
| users.export.global_control_group | POST/users/export/global_control_group | For exporting global control group membership |
| sends.id.create | POST /sends/id/create | For create ids for message performance tracking |
| messages.send | POST /messages/send | Trigger an API Campaign in Braze. |
| campaigns.trigger.send | POST /campaigns/trigger/send | Trigger a send for a campaign that is configured for API-triggered delivery. |
| campaigns.trigger.schedule.create | POST /campaigns/trigger/schedule/create | Trigger a send for a campaign that is configured for scheduled API-triggered delivery. |
| campaigns.list | GET /campaigns/list | Retrieve the list of all the campaigns configured in Braze and their associated metadata. |
| canvas.data_series | GET /campaigns/data_series | Retrieve the analytics data of a specific Braze campaign. |
| campaigns.details | GET /campaigns/details | Retrieve the details of a specific Braze campaign. |
| segments.list | GET /segments/list | Retrieve the list of all the segments configured in Braze and their associated metadata. |
| segments.data_series | GET /segments/data_series | Retrieve the size of the Braze segment. |
| segments.details | GET /segments/details | Retrieve the details of a specific Braze segment. |
| email.unsubscribe | For retrieving email unsubscribe information | |
| email.hard_bounces | GET /email/hard_bounce | To retrieve email bounce information |
| templates.info | GET /templates/email/info | Retrieve the details of a specific Braze HTML email template. |
| templates.list | GET /templates/email/list | Retrieve the list of all the Braze HTML email templates configured in Braze and their subject line and HTML content. |
| subscription.status.get | GET /subscription/user/status | To get subscription status |
| subscription.groups.get | GET/ subscription.groups.get | To get subscription groups |

- Finalize the key creation.
- You can then view the newly created key by clicking on the gear icon at the right
- Copy the API key value.
- Login into the Aampe composer using your Aampe credentials.
Enter
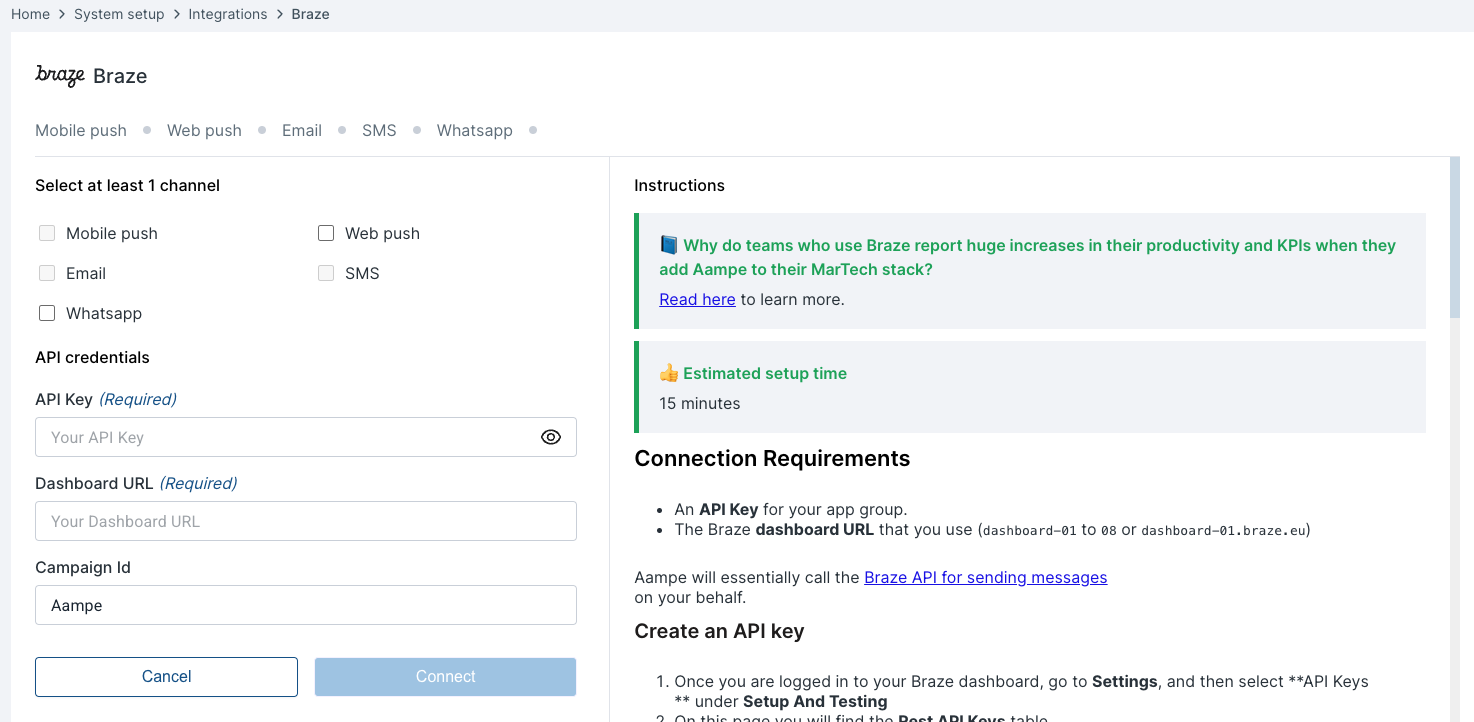
System setup -> Integrations -> Braze. Activate Braze

Enter the API key and dashboard URL copied from the earlier steps. Your connection is now ready to deliver messages
App Id Setup
- To find your app_id go to your Braze account and navigate to Settings > API and Identifiers > App Identifiers
- Copy your app_id and navigate back to Aampe Braze integration page select the email channel and add your app_id
Note App Id is not required if you do not intend to use channel email through Braze
API Campaign Setup
Setting up an API Campaign in Braze allows you to send transactional messages by generating a campaign_id for use in your API calls. This process involves creating the campaign in the Braze dashboard and then using the campaign_id in your API requests to send messages. Here's a step-by-step guide to setting up an API Campaign:
Access the Braze Dashboard:
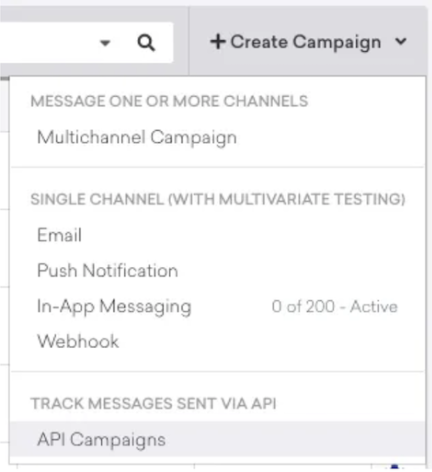
- Log in to your Braze account. Navigate to the Messaging section and select Campaigns.

- Create a New Campaign: Click on Create Campaign. Choose API Campaigns as the campaign type.

-
Configure the Campaign: Name the Campaign: Provide a descriptive title to easily identify the campaign later.
- Add Message: Click on Add Message Select the message types (channels) you intend to use (e.g., Email, SMS, Push Notifications). This action will generate a campaign_id and a message variation ID for each channel.
-
Optional - Add Conversion Events: If you wish to track specific user actions as conversions, you can add a conversion event to the campaign.
-
In the Campaign Limits
- User re-eligible for messages: Check this box and select 0 minutes as we would like aampe agents to be re-eligible based on user's best time.
- Select Dont Count this towards intelligent Frequency limits as we dont want Aampe to be affected by Braze limits
-
Save the Campaign: After configuring the necessary settings, click on Save Campaign.
-
Implement the API Campaign: Retrieve the campaign_id: After saving, note the campaign_id generated for your campaign.
- Prepare Your API Request:
- In your API request, include the campaign_id in the appropriate field as specified in Braze's Send Messages Endpoints documentation.
- For each platform included in the campaign, provide the corresponding message variation ID within the message object.
- Prepare Your API Request:
You are all set with Braze!
Updated 3 months ago